Planning Items
Planning items are events that appear in Planning Grids and the Planning Calendar. All items added to the ENPS calendar will show up in the appropriate ENPS Planning Grid. Any item added to the Planning Grid will also show up on the Calendar.
Create a Planning Item
To create an assignment in the Planning Grid you can either click the Insert Row button on the Planning Grid Ribbon or press the shortcut key Ctrl i.
![]()

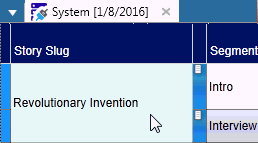
To create the segment for a Planning Item, first create a new row. Give the new row an identical slug to the row to which you want to add a segment followed by a hyphen and the name of the segment, e.g. "Revolutionary Invention - Interview."
You can move a Planning Item from one Planning Grid to another. Open the Planning Grids in separate windows then hold down Shift and drag the item to the target Planning Grid.
To create a placeholder for media objects select a media server in the Object Placeholder Create column. Once the placeholder is created, you will be able to see MOS Status for the item, as long as the ENPS Client is receiving MOS Status from the media server. Placeholders are not created unless the Planning Grid is MOS Control Active.
Modify a Planning Item
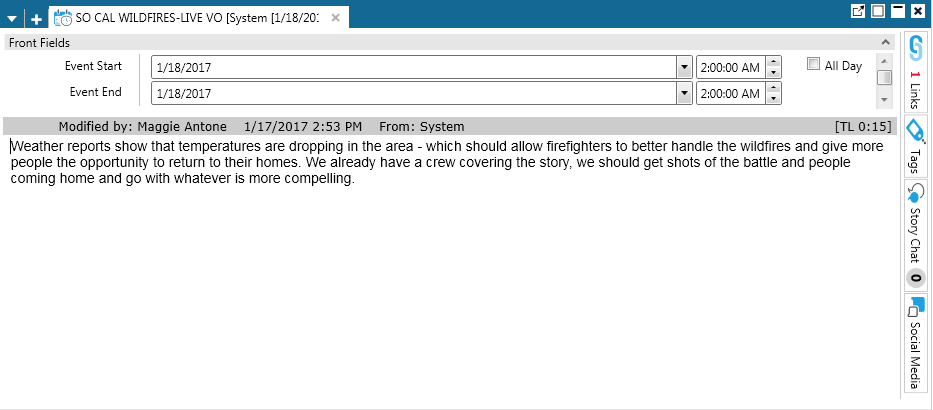
Planning Items let you enter information about planned events. To modify a Planning Item double-click its slug. At the top of the Planning Item enter when the event will take place:
- Event Start. Enter the date the item starts.
- Start time. Enter the time the item begins.
- Event End. Enter the date the item ends.
- End time. Enter the time the item ends.
- All Day. Select this checkbox if the item does occurs for the entire day.
All-day Planning Items that span multiple days will only appear in the Planning Grid for the day they start.
To quickly change the start and end times for Events from the Calendar:
-
Select the item from the Calendar.
-
Drag the item to the Date Picker located to the left of the Calendar.
-
Drop the Event on the specified date.
To quickly change the start and end times for Events from the Planning Grid:
-
Navigate to Personal Settings.
-
On the Planning tab, select Display Date Picker for Event Start and Event End.
Once complete, on the Planning Grid, you will be able to adjust the displayed date and time within the Event Start and Event End columns.

Below the time and date information, enter your planning information for the story. You can also link media to the Story by dragging it into the window.
Planning Items also have Property Fields that you can use to capture specific types of planning information such as satellite feed information, scheduling notes, and costs. To view these fields click the Properties button on the Planning Item Ribbon.
![]()
A tab on the right side of the window displays the Story Chat, which is an area that lets you communicate with other people working on the Story. It is useful for noting important changes as the Story develops. The number on the tab displays the number of comments that have been entered since you last opened the Story Chat window.

Move a Planning Item to a Rundown
To copy a Story from a Planning Grid into a Rundown, open the Planning Grid and Rundown in separate windows.


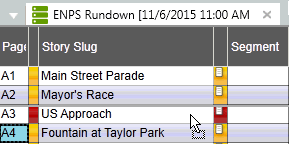
Drag the slug of the item you want to move from the Planning Grid into the Rundown. A gray line will appear showing you where you are inserting the new Story.
There are two ways to move multiple items at once:
-
If the rows you want to move are in sequential rows, click on the first row you want to copy then hold down the Shift key and click the last row you want to copy. All of the intermediate rows will also be selected.
-
If the rows you want to move are not listed sequentially, hold down the Ctrl key and click each row you want to copy.
When you drag and drop an item from a Planning Grid into a Rundown, the contents of the Planning item are copied into the Source Content Area of the Story in the Rundown.