Contacts
Contacts can be created or viewed at the server level, for your group, or for your personal use only. To determine which groups are able to view server level contacts use the Enterprise Browser to view a list of which ones are included.
View Contacts
To view a list of your personal contacts, click on the Contacts ![]() icon on the NavBar.
icon on the NavBar.
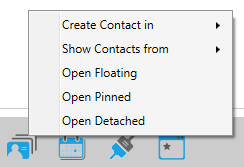
Right-clicking on the Contacts icon will allow you to choose how you want to open the Contacts window: Open Floating, Open Pinned or Open Detached. You can choose your default setting in your Personal Settings.

To view group level or server level contacts, right-click on the Contacts icon, select Show Contacts From then choose the appropriate type.
Create New Contact
To create a new contact, right-click on the Contacts > Create Contact in and select where you want to create the contact.
If you attempt to create a contact that already exists, the system will notify you that you may be creating a duplicate contact. You can then proceed or open the already existing contact to update the information.
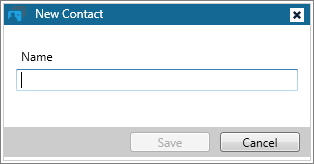
The New Contact window will appear, prompting you for the contact's name.

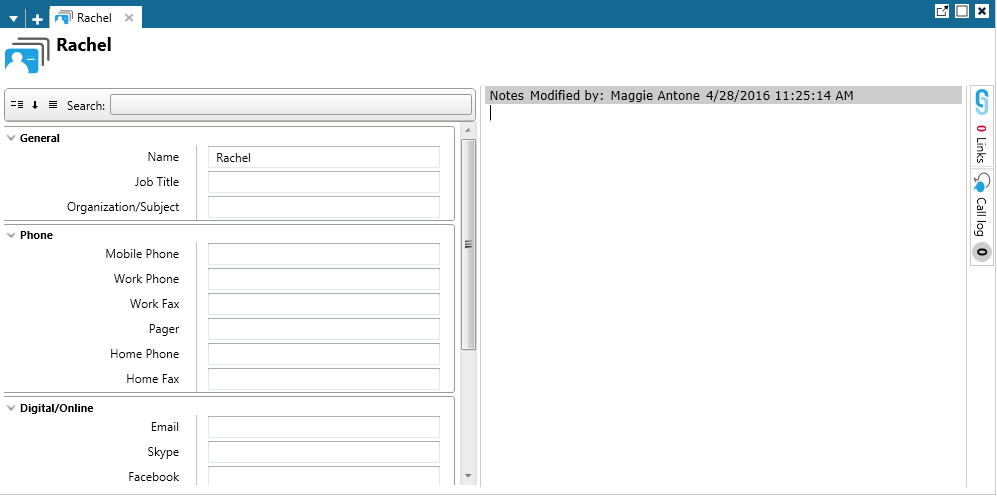
Enter the contact's name and click Save. The contact properties window will appear where you can enter more information.

Sort and Filter Contact Properties
The bar at the top of the screen allows you to sort and filter contact properties.

The three icons on the left change how you sort the list of properties.
|
|
Sort the fields in two categories: basic and other. You can collapse and expand these categories by clicking on the arrow icons. |
|
|
Sort the properties in alphabetical order. |
|
|
Turn off sorting. Fields will appear in the default order. |
The Search box lets you filter properties that contain a specific piece of text. For example, you can type MOS to view all the options that contain MOS in the property name. Delete the text in this box to return to the full list of properties.