Install
After all preparation is complete including downloading the installer, run the ENPS Platform Installer to install ENPS.
-
Right-click on the ENPS Platform Installer zip file downloaded earlier and select Properties.
-
Ensure that the General > Unblock box is ticked if it exists, then click OK.
-
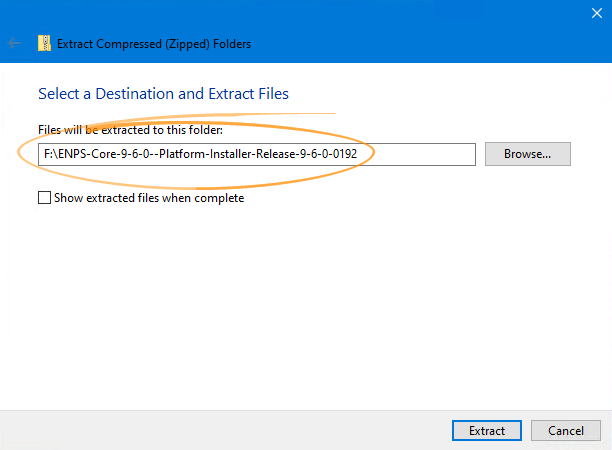
Extract the contents of the Platform Installer zip file to the root of the ENPS Work Drive, which is usually the F: drive:
Do not extract to a different location, such as the Downloads folder. If extracted to another location such as the Downloads folder, the Platform Installer may crash or get stuck when run.
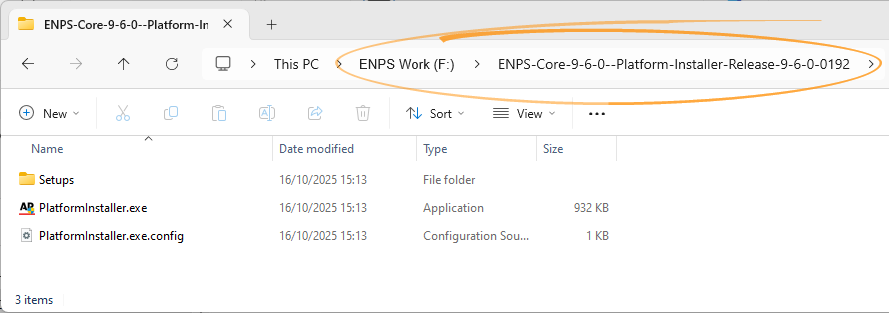
This creates the following files/folders:
-
Run the PlatformInstaller.exe file from that location to start the Platform Installer.
The Platform Installer must be run from the root of the ENPS Work drive. Not doing so may result in the Platform Installer crashing or getting stuck.
The Platform Installer may not run if the zip file was not unblocked in the earlier steps.
-
Follow these instructions on each screen.
Platform Installer screen
Instructions
Password Protection
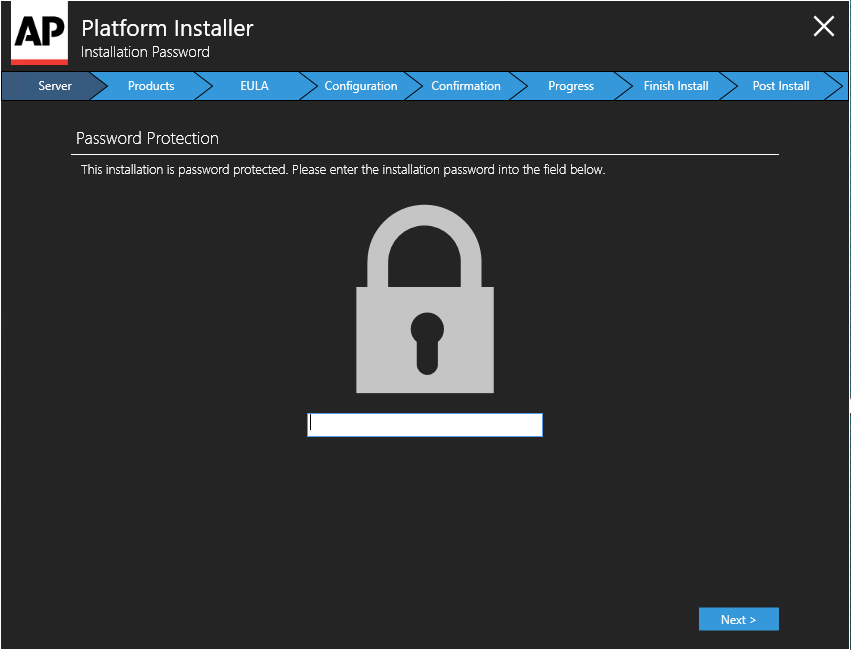
Enter the installation password.
Contact Us if you cannot find the installation password.
Server Type

Select the type of server you want to configure.
For an ENPS Server install, select ENPS.
Product Selection
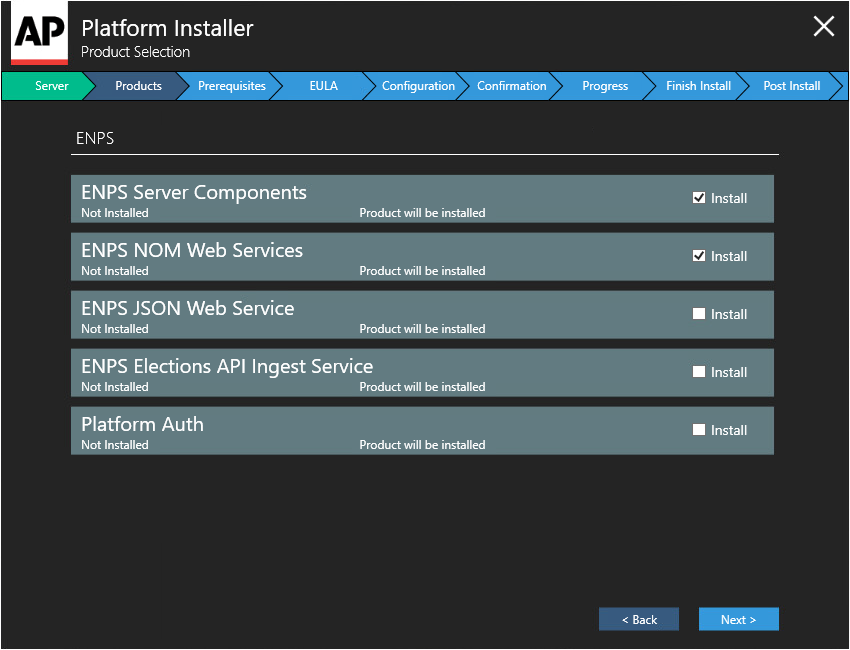
Select the products to install.
-
ENPS Server Components - installs all the ENPS components that the server requires.
-
ENPS NOM Web Services - installs the NOM Web Service, which the client uses to connect to the server components.
-
ENPS JSON Web Service- Required for ENPS web server only. Not required for a standard ENPS production server installation.
-
Platform Auth- Only required if you plan to use ENPS with Single Sign-on (SSO). Should not be installed on a standard production server installation.
The following options may also appear:
-
ENPS Web Access - installs ENPS Mobile. Not typically installed on an ENPS Production Server (see separate ENPS Mobile Admin guide on this site).
-
ENPS API Web Service – installs the API. Not typically installed on an ENPS Production Server (see separate ENPS API guide).
-
AP Storytelling - installs Storytelling.
-
ENPS Elections Ingest Service - installs the Elections API ingest service that allows users to feed election data from AP Elections API to the ENPS Elections application (optional).
Prerequisites
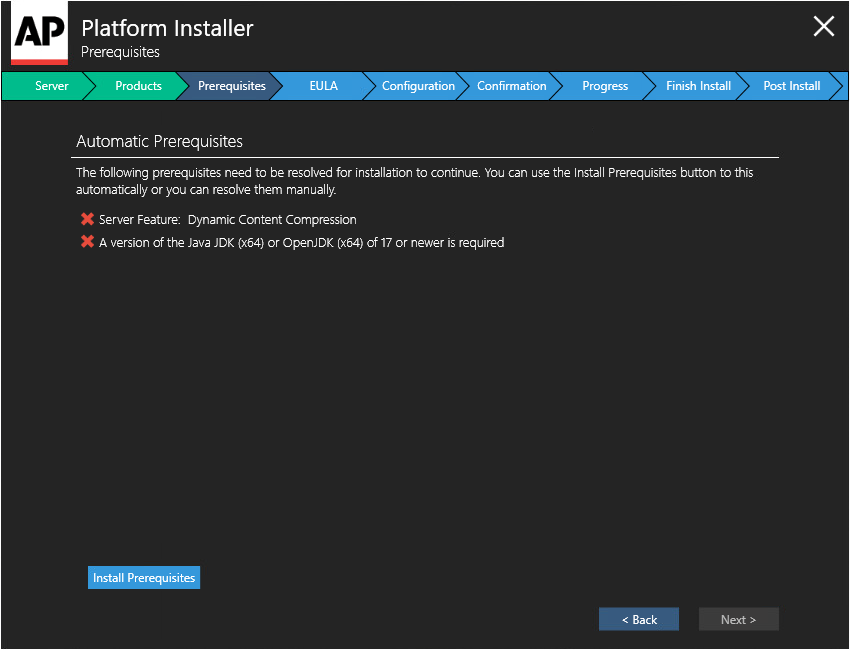
Click Install Prerequisites to install any missing prerequisites.
See Automated Server Configuration for details of the prerequisites that the Platform Installer configures.
End User License Agreement
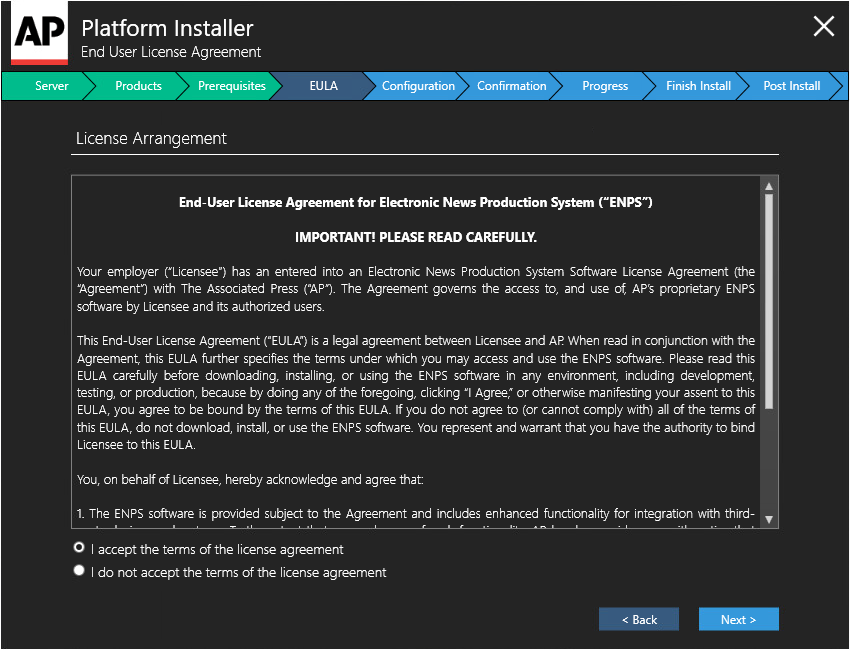
Read the agreement and select I accept the terms of the license agreement.
Configuration
(ENPS Server Components)
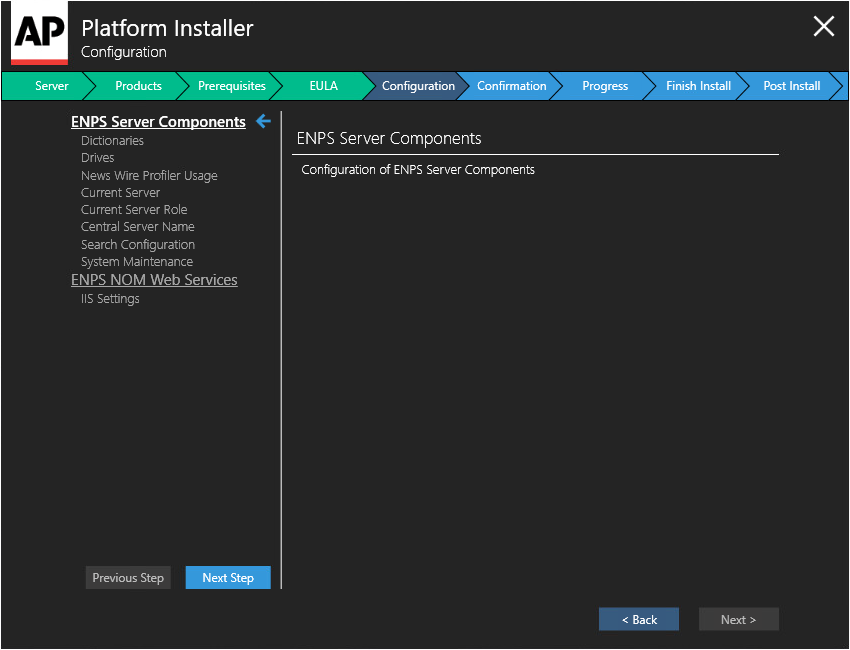
Click Next Step after completing each screen.
Dictionaries
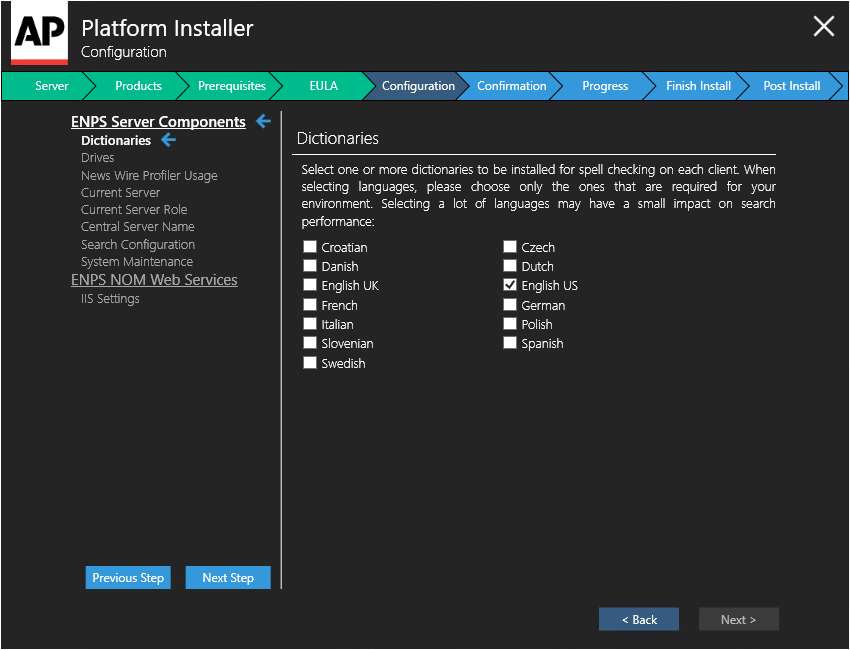
Select the dictionaries to use for spellchecking.
Drives
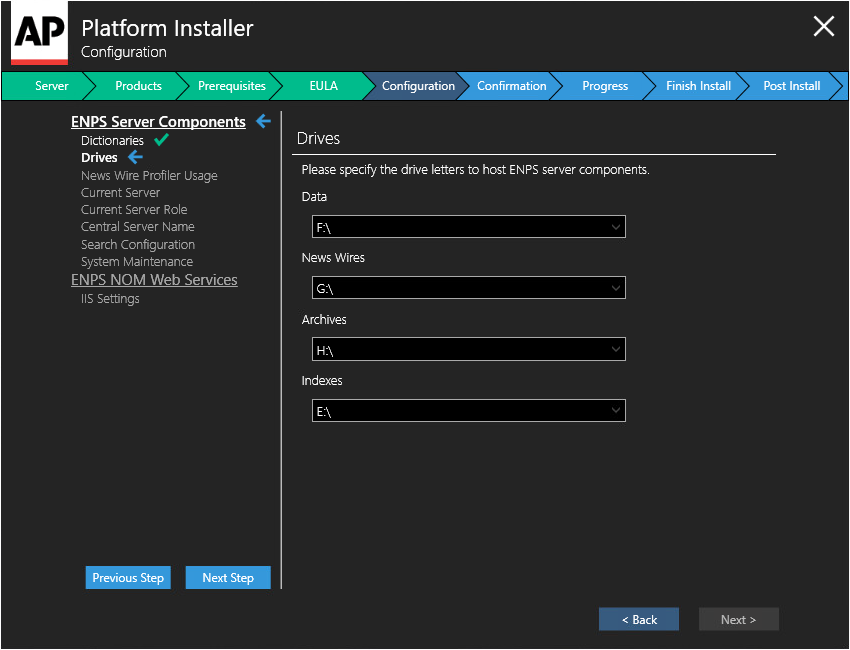
Specify the drive letters to host ENPS server components.
See Partition Sizes for a reminder of the suggested drive letters.
News Wire Profiler Usage
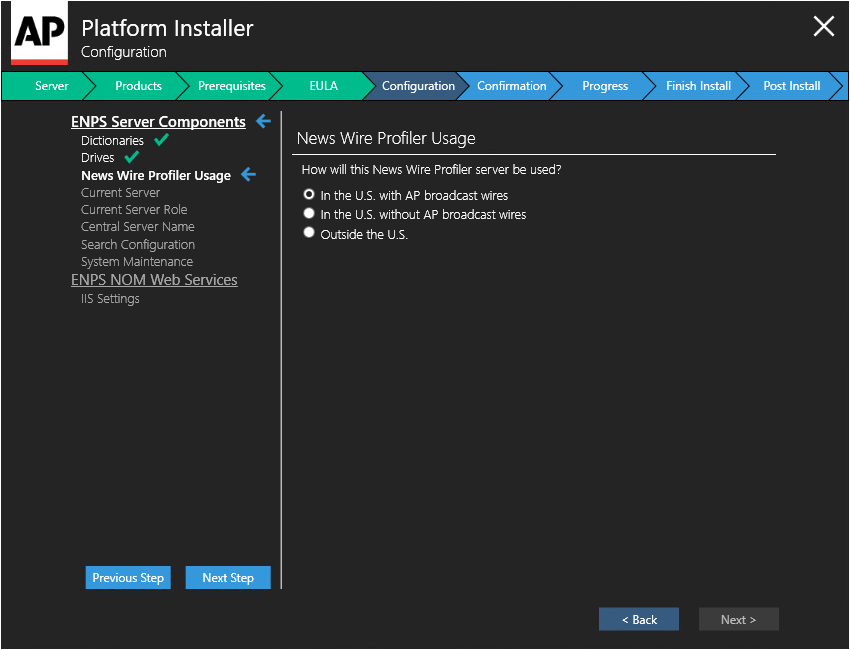
Select how the News Wire Profiler will be used:
-
In the U.S. with AP broadcast wires
-
In the U.S. without AP broadcast wires
-
Outside the U.S
Current Server
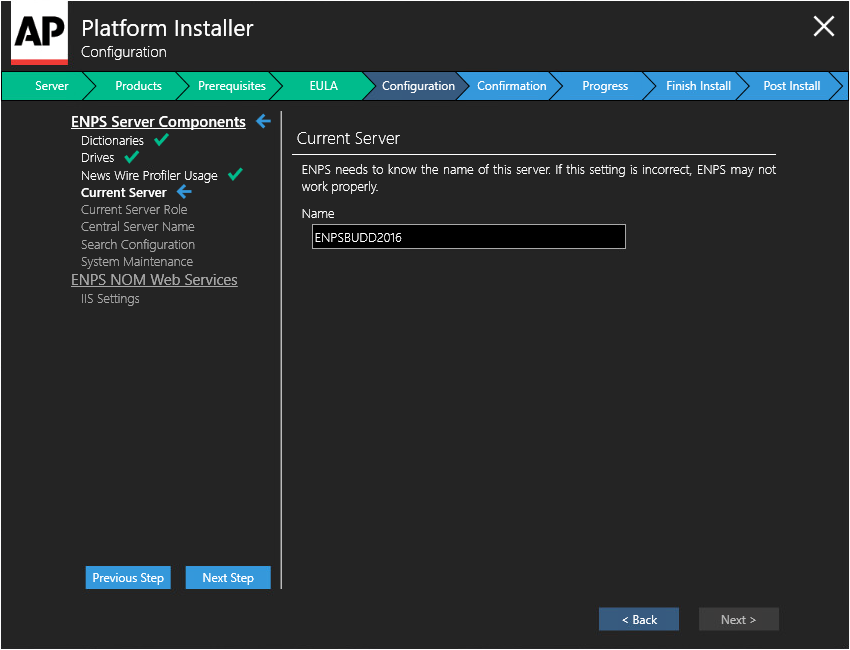
Enter name of the server in the Name field, letters must be uppercase.
Use the same name as your current ENPS Primary Server.
Current Server Role
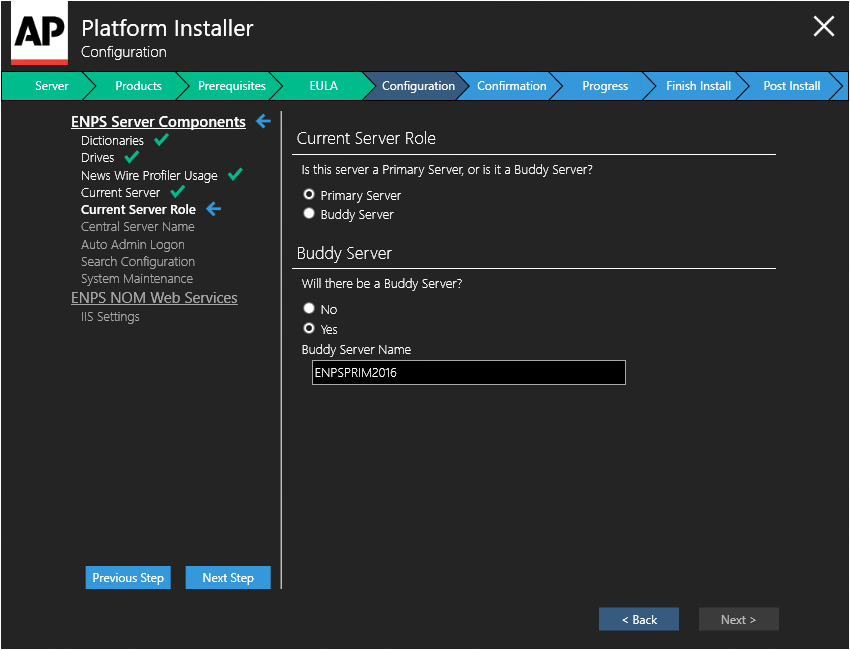
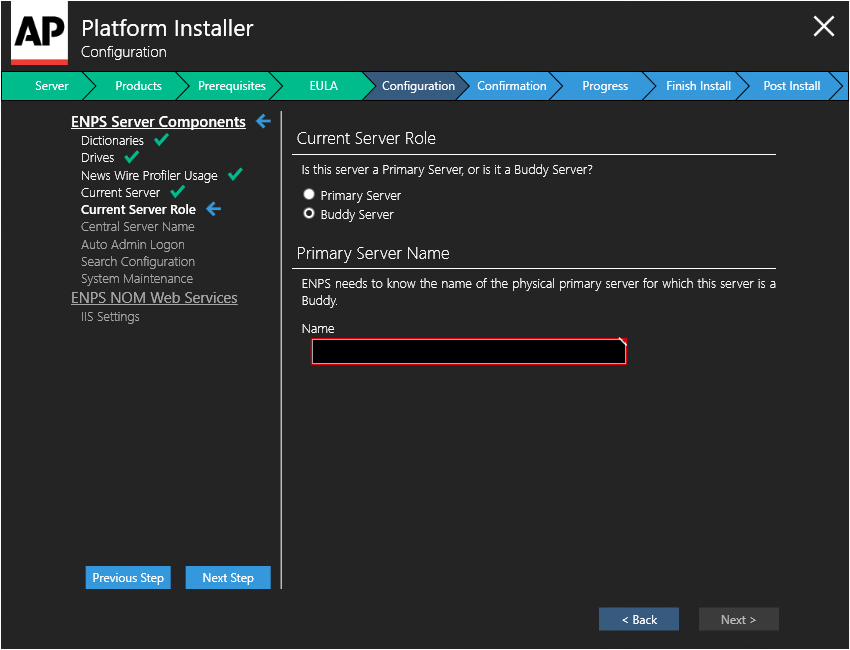
Select whether the server is a Primary Server or Buddy Server.
If a Primary Server then:
-
Choose whether there will be a buddy server by selecting No or Yes.
-
If yes, then enter the Buddy Server name in the Buddy Server Name field.
Use the same name as your current ENPS Buddy Server, if known.
If a Buddy Server then:
-
Enter the Primary Server name in the Primary Server Name field.
Central Server Name
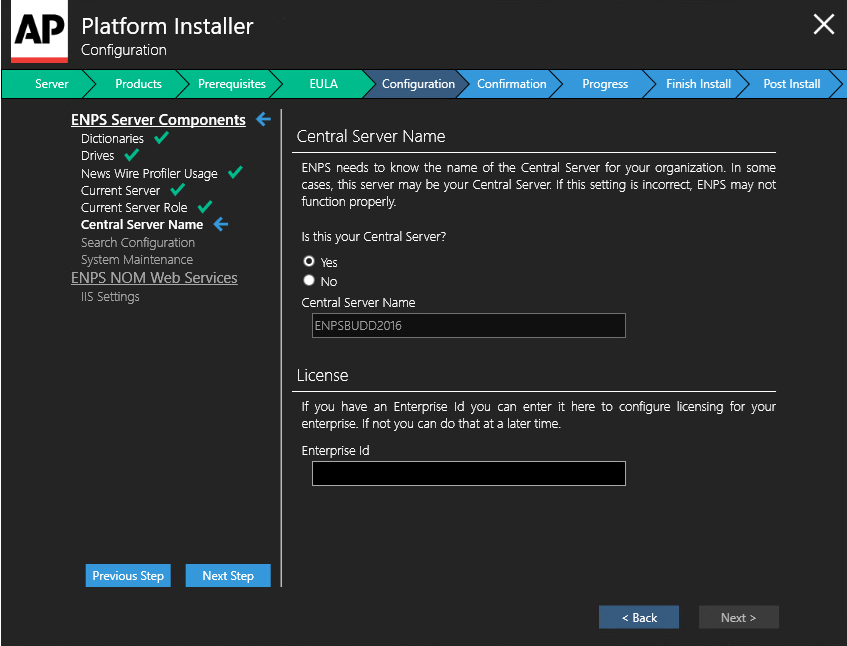
Enter the NetBIOS name of the Central Server in the Name field.
Use the same name as your current ENPS Central Server.
In some cases, the Central Server will be the same as your Primary Server.
Enter your Cloud Licensing Enterprise ID in the Enterprise Id field.
If you do not have your Cloud Licensing Enterprise ID, then Contact Us to obtain the ID before you move to the next step.
Auto Admin Logon
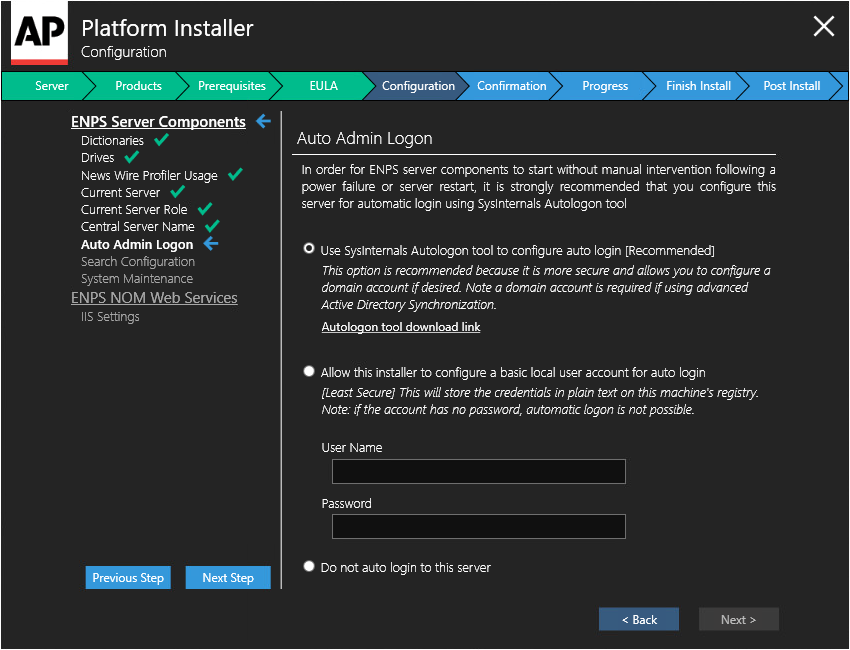
Select an admin login method to use, which enables ENPS server components to start automatically following a server restart:
-
SysInternals Autologon tool (recommended)
Encrypts passwords and can be used with Active Directory accounts.
Click the Autologon tool download link in the installer to get the tool, or browse to https://learn.microsoft.com/en-us/sysinternals/downloads/autologon.
-
Basic local user account
Enter a username and password.
This is limited to local accounts and is relatively insecure as it stores the password in the registry in plain text. We strongly recommend using the SysInternals Autologon tool method.
-
Do not auto login to this server.
Search Configuration
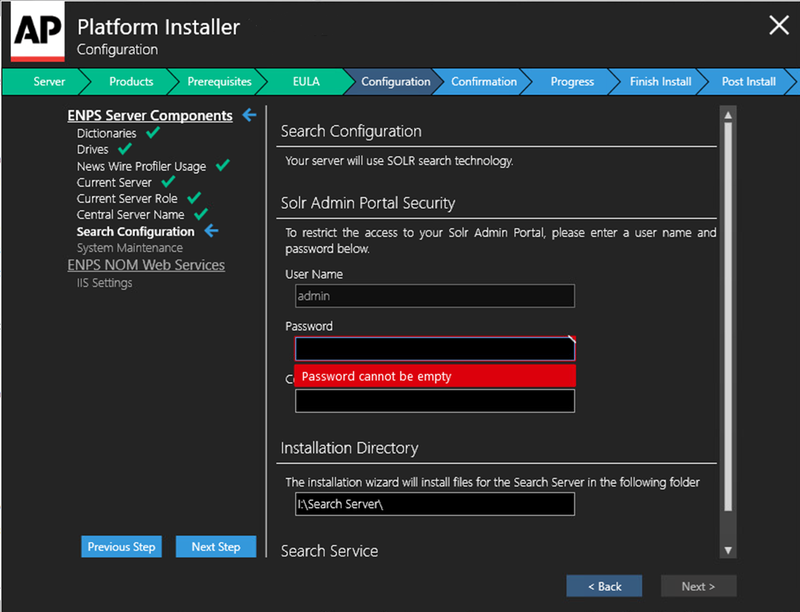
Enter a User Name and Password for accessing the Solr Admin Portal for administering Solr in ENPS.
Do not forget the User Name and Password as they are required to connect with Solr.
Installation Directory - enter the location of the folder in which you want to install files for the Search Server. In most cases, it will be E:\Search Server\
Search Service - select the checkbox to start the Search Service automatically after installation is complete.
Solr SSL
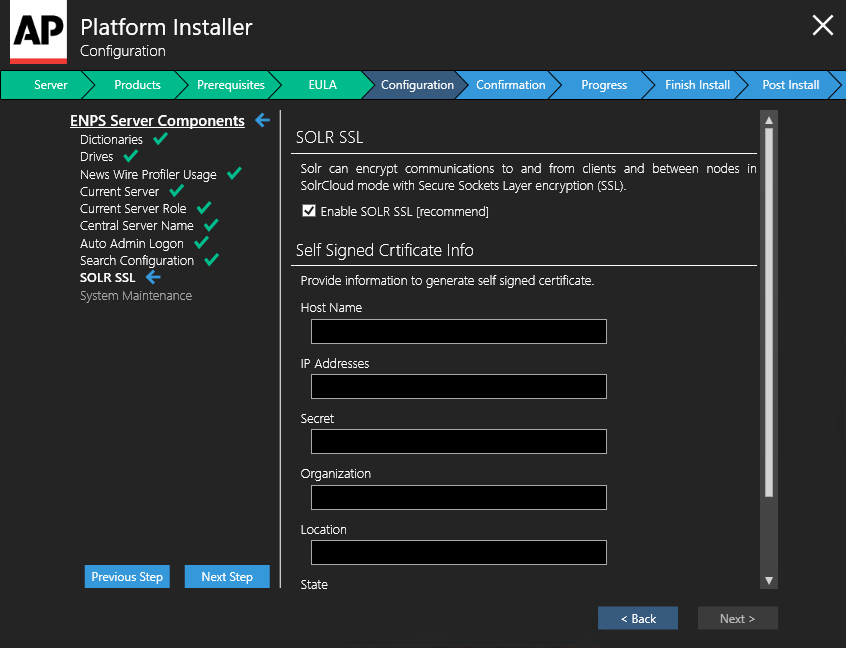
This screen was added in ENPS 9.6.1.
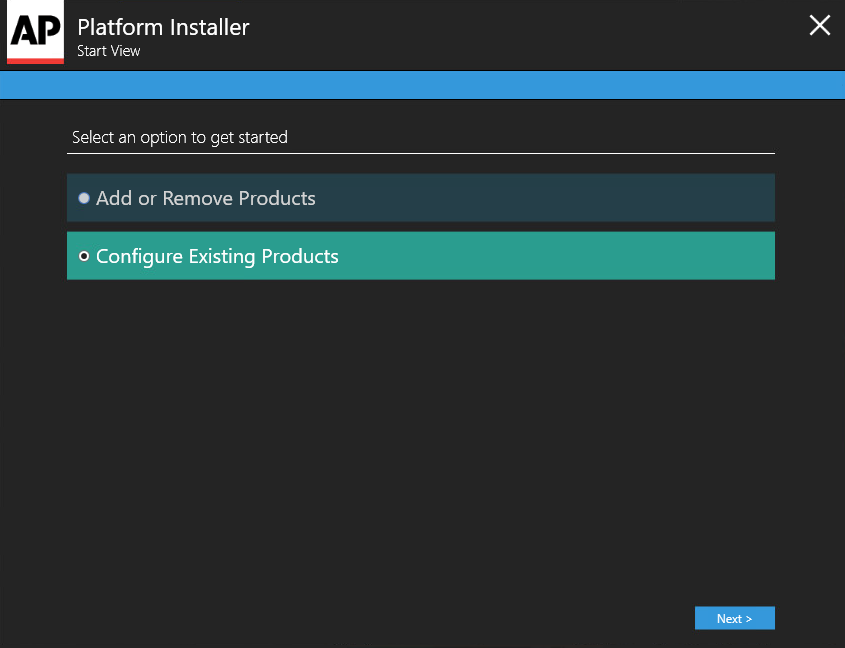
Optionally set up Solr SSL now on this screen, or skip and return to this task at a later date by re-running the Platform Installer and selecting Configure Existing Products on the first screen:
To set up now, tick Enable SOLR SSL (recommended) and fill out the fields under Self Signed Certificate Info.
System Maintenance
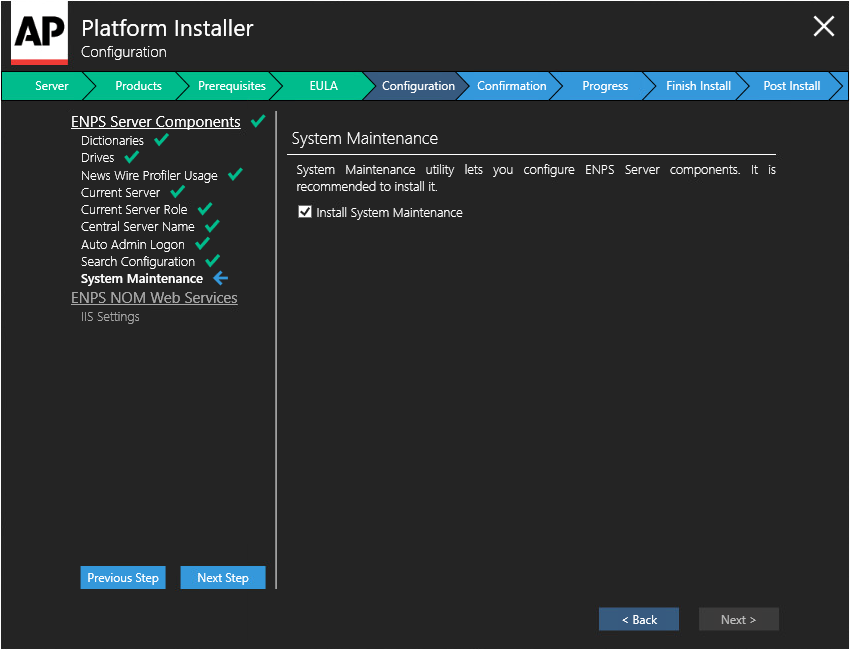
Tick the Install System Maintenance box.
This will install the System Maintenance tool.
Configuration
(ENPS NOM Web Services)
Click Next.
IIS Settings
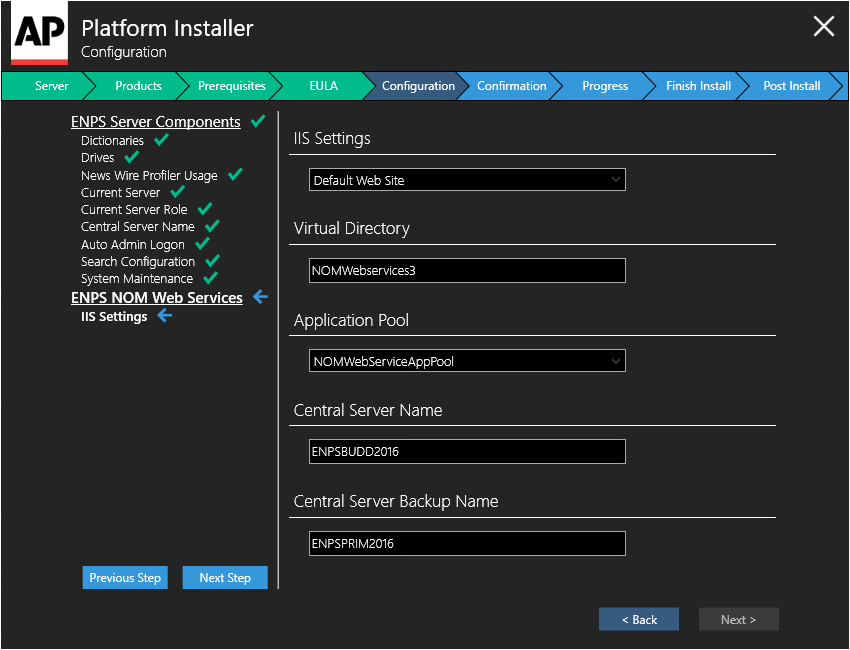
Set each field:
-
IIS Settings- Enter Default Web Site.
-
Virtual Directory- Enter
NOMWebservices3. -
Application Pool- Enter
NOMWebServiceAppPool. -
Central Server Name - Enter the name of your Enterprise Central Server. If you do not have an Enterprise Central Server, enter the name of your Primary Server.
-
Central Server Backup Name - Enter the name of your local server according to the following options:
-
If this is your Enterprise Central Server, enter the name of any of your local servers.
-
If this is your Primary Server that is part of an enterprise, enter the name of the server itself.
-
If this is your Primary Server and Central Server (non-enterprise), enter the name of the Buddy server.
-
If this is your Buddy Server, enter the name of the server itself.
-
Confirmation
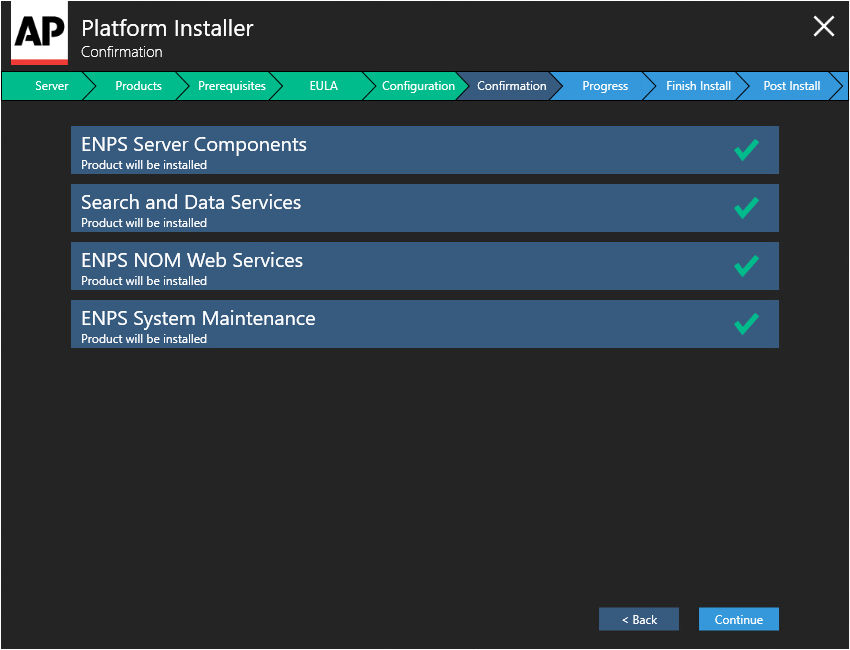
Click Continue to begin installation of the displayed components.
Installation Progress
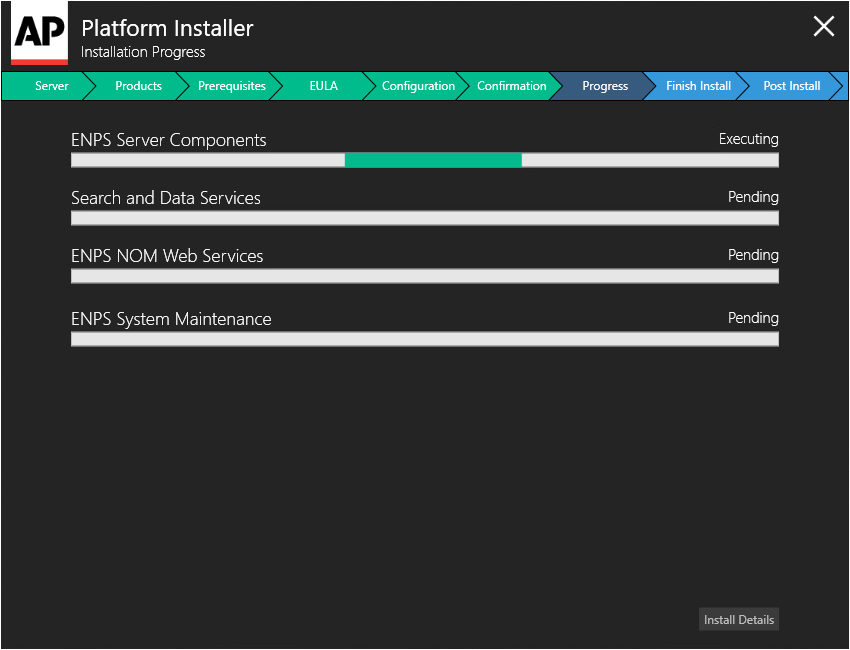
Wait for installation to complete.
Click Install Details.
Finish
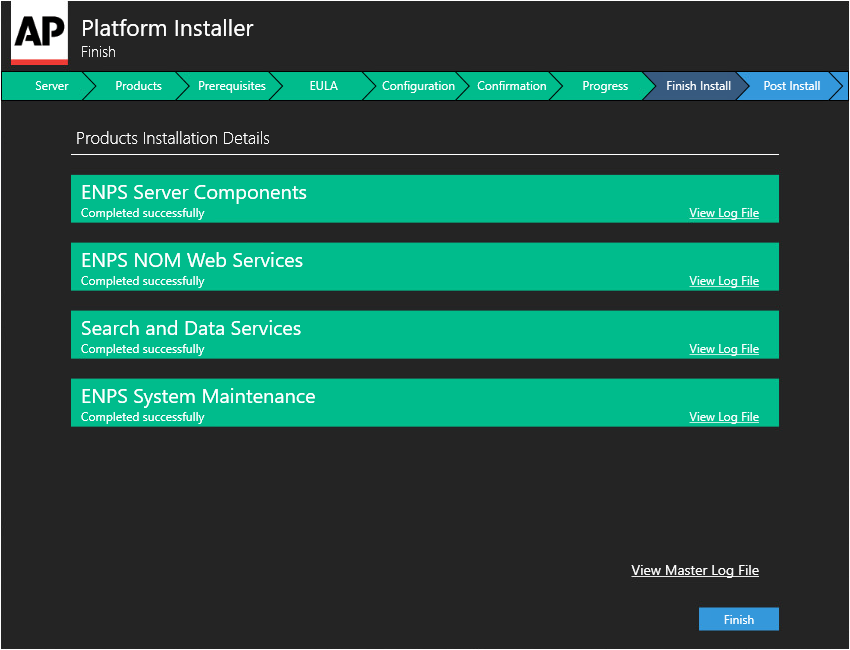
Click Finish if all products have installed successfully.
-
Changes will not take effect until you restart your system.
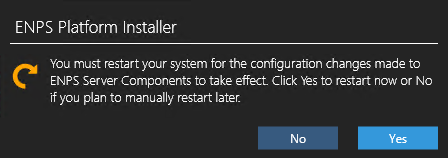
Installation is complete once you have restarted the system.
Next steps
Platform installation is complete.
Now move on to the steps under Post-Installation in the sidebar, starting with NOM WebServices.
