Configure Role Services
Configure role services on the server:
-
Start Windows Server Manager.
-
Select Manage > Add Roles and Features to open the related wizard.
-
Complete the wizard using the following settings, clicking Next to move between screens:
Add Roles and Features Wizard screen
Instructions
Before you begin
Read the information.
Installation Type
Select Role-based or feature-based installation.
Server Selection
Ensure that:
-
Your server is highlighted in the Server Pool pane.
Server Roles
Ensure the following roles are selected:
-
File and Storage Services >
-
Storage Services
-
-
File and Storage Services >
-
File and iSCSI Services >
-
File Server
-
-
-
Web Server (IIS)
Select Add Features if a dialog appears.
Features
Ensure that the following features are selected.
Select Add Features if a dialog appears.
-
.NET Framework 3.5 Features >
-
.NET Framework 3.5 (includes .NET 2.0 and 3.0)
-
HTTP Activation
-
Non-HTTP Activation
-
-
.NET Framework 4.8 Features >
-
NET Framework 4.8
-
ASP.NET 4.8
-
Web Server > Common HTTP Features > HTTP Redirection (if present)
-
WCF Services >
-
HTTP Activation
-
Named Pipe Activation
-
TCP Activation
-
TCP Port Sharing
-
-
-
Telnet Client
-
Windows Powershell >
-
Windows Powershell 5.1
-
Windows Powershell ISE (if present)
-
- Windows Process Activation Service > (if present)
- Select all options
-
WoW64 Support
Roles Services
Ensure that the following are selected.
- Common HTTP Features >
-
Default Document
-
Directory Browsing
-
HTTP Errors
-
Static Content
-
HTTP Redirection
-
- Health and Diagnostics >
-
HTTP Logging
-
- Performance >
-
Static Content Compression
-
Dynamic Content Compression
-
- Security >
-
Request Filtering
-
Windows Authentication
-
- Application Development >
-
.NET Extensibility 3.5
-
.NET Extensibility 4.8
-
ASP
-
ASP. NET 3.5
-
ASP .NET 4.8
-
ISAPI Extensions
-
ISAPI Filters
-
WebSocket Protocol
-
- Management Tools >
- Select all options
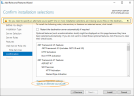
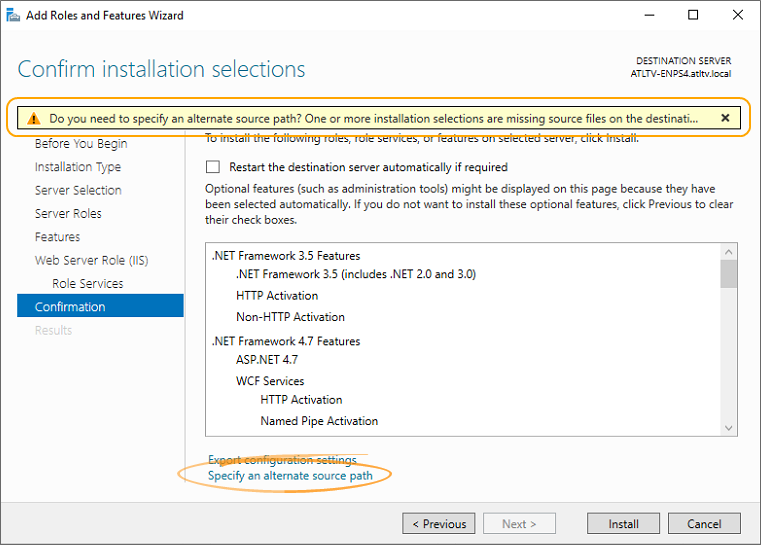
Confirmation
The installer may prompt for an alternate source path.

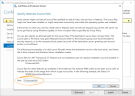
To specify an alternate:
-
Get the install disc or disk image mounted in the disk drive of the server, or another accessible location.
-
Click Specify an alternate source path.
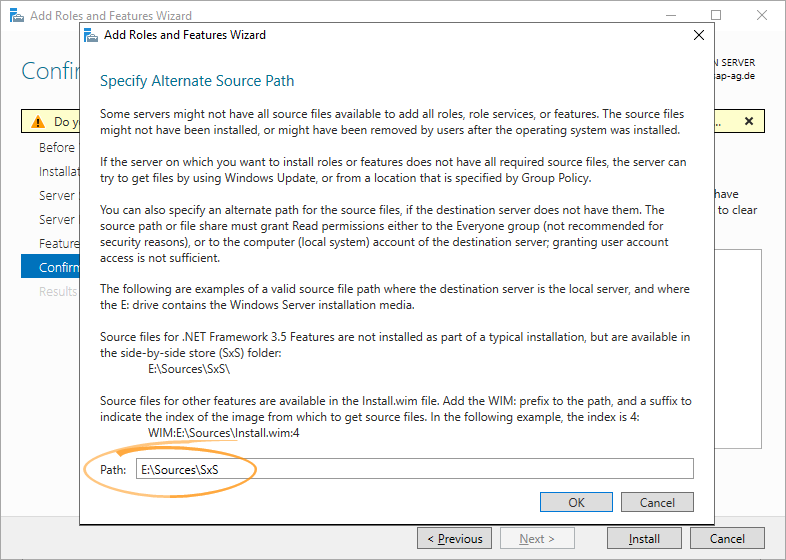
-
Browse to and select the Sources > SxS folder.
-
Click OK.
Read the information, then click Install.
Results
Wait for installation to complete, then click Close.
-
Next Steps
Continue to the steps in Windows Updates.