Preparation
This topic describes how to prepare the MOS Repeater server for the installation of the MOS Repeater software.
Install the Operating System
-
Install the operating system that applies to your system, either Windows Server 2019 or Windows Server 2022.
During the installation, when prompted, set the Windows installation volume space to 50GB or greater, but such that the remaining drive space is at least 50GB. For example, on a 1TB drive set the Windows installation volume to be 100GB and leave the rest for configuration later.
-
If you are creating a new administrator's account to run the MOS Repeater, create it now and log in using this account after the reboot.
-
Install hardware drivers, third-party SNMP agents and backup software.
Install Server Applications
Modify Windows Components
Antivirus and User Account Control Settings
-
Open the Windows Server Manager and select the Local Server tab.
-
Ensure that the following settings are set to Off:
-
Windows Defender Firewall
-
IE Enhanced Security Configuration (for both Administrators and Users)
-
Windows Defender Antivirus (disable Real-time protection, Cloud-delivered protection)
-
-
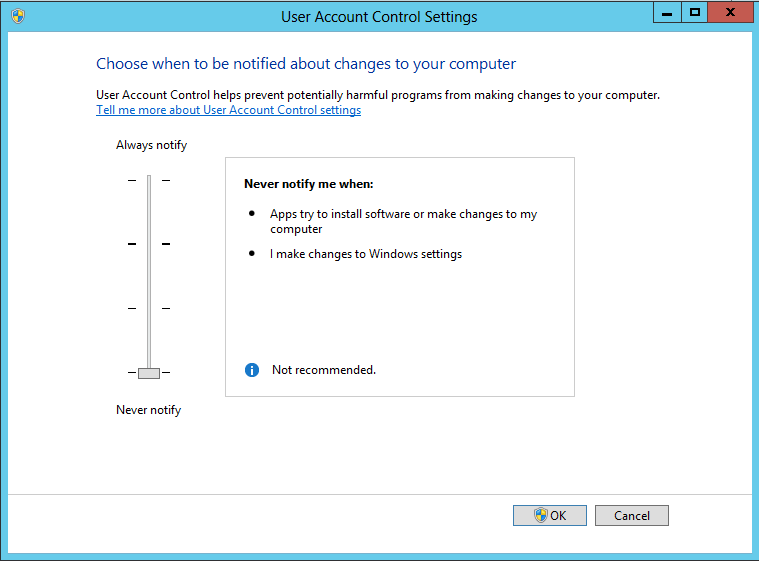
Open Control Panel > System and Security and select Change User Account Control Settings. Move the slider to Never notify and click OK.
-
Select the Windows Start Menu
 and select Windows Administrative Tools.
 -
Open Local Security Policy.
-
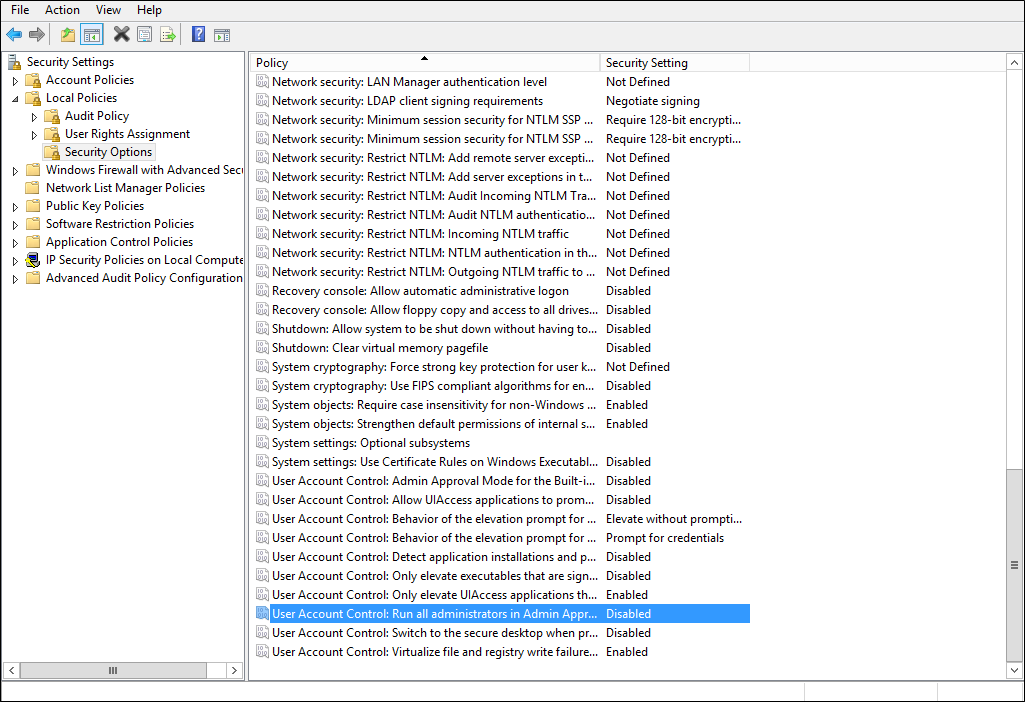
Select Local Policies > Security Options.
-
Right-click User Account Control: Run All Administrators in Admin Approval Mode and select Properties from the pop-up menu to open the associated dialog.
-
Select Disabled and click OK.
-
Restart the server.
Add roles and Features
-
Open the Windows Server Manager and select Add Roles and Features from the Dashboard.
-
Click Next on the Before You Begin page.
-
In the following screens, ensure that the following are selected:
In the Installation Type screen, select:
- Role-based or feature-based installation

Click the Next button.
- At the Server Selection screen, make sure that your server is selected and then click the Next button.
In the Server Roles screen, select:
- Select File and Storage Services, then click to expand its drop-down menu and select Storage Services. NOTE: This may already be selected.
- Also under File and Storage Services, select and expand the File and iSCSI Services drop-down, and then select File Server. NOTE: This may already be selected.
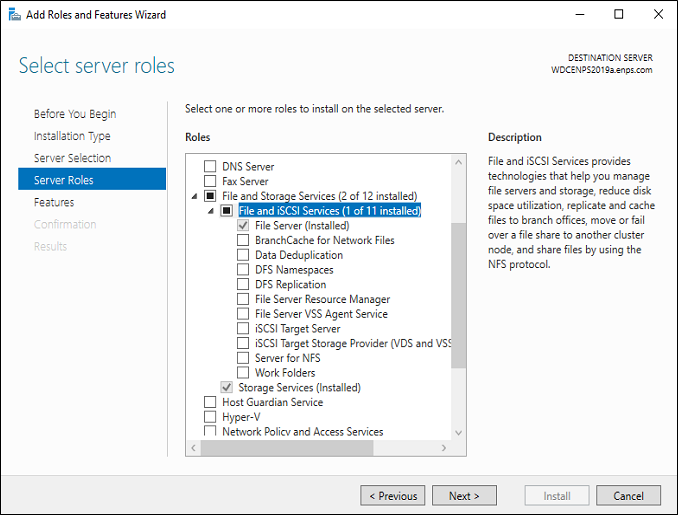
- Select Web Server (IIS). Select Add Features if prompted. Click Next to continue.
- In the Features screen, select:
- Select .NET Framework 3.5 Features, then expand its drop-down menu and select:
- .NET Framework 3.5 (includes .NET 2.0 and 3.0)
- HTTP Activation. Select Add Features if prompted.
- Non-HTTP Activation. Select Add Features if prompted.
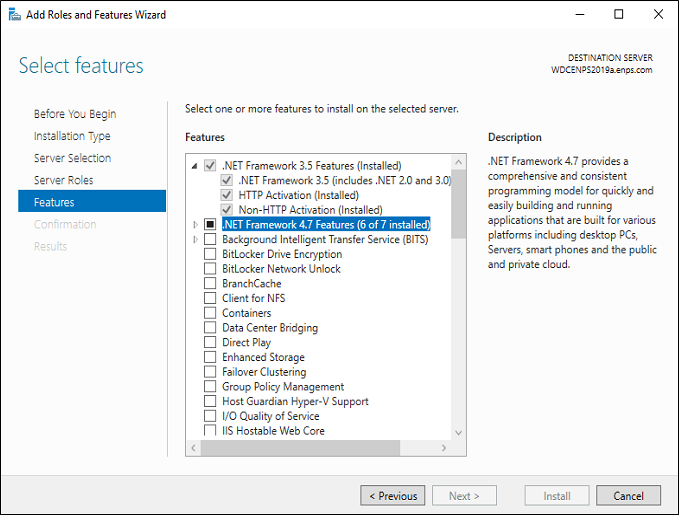
- Select .NET Framework 4.7 Features, then expand its drop-down menu and select:
- .NET Framework 4.7
- ASP.NET 4.7
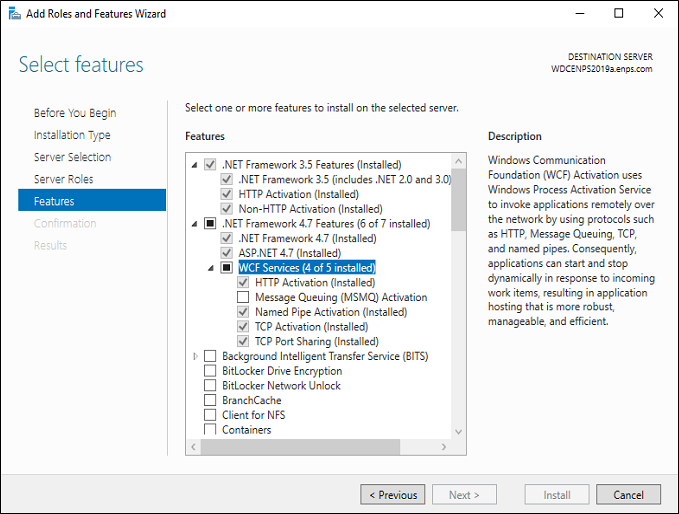
- Select WCF Services, then expand its drop-down menu and select:
- HTTP Activation. Select Add Features if prompted.
- Named Pipe Activation
- TCP Activation
- TCP Port Sharing
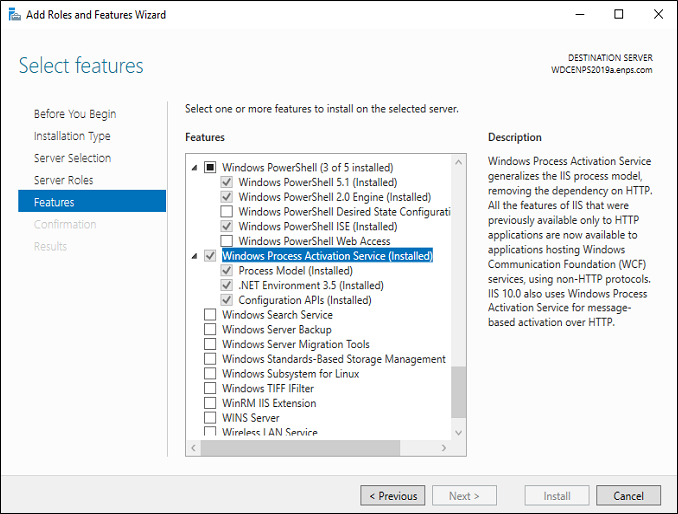
- Select Windows Powershell, then expand its drop-down menu and select:
- Windows Powershell 5.1
- Windows Powershell ISE
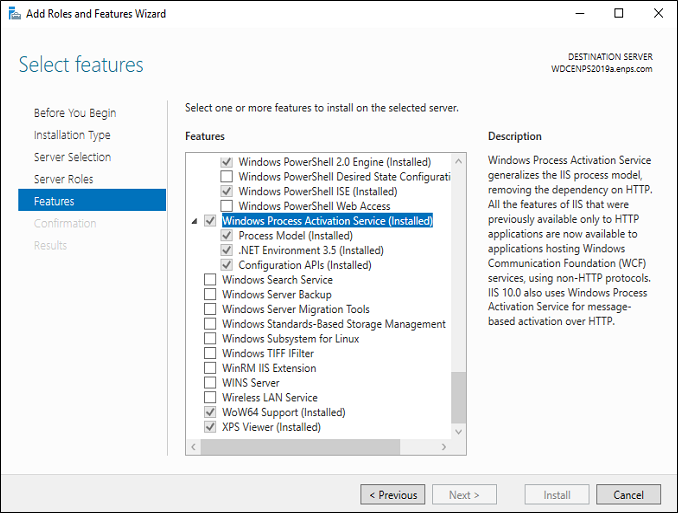
- Select Windows Process Activation Service, then expand its drop-down menu and select all options.
- Select WoW64 Support
Click the Next button twice.
In Roles Services select the following options:
- Common HTTP Features
- Default Document
- Directory Browsing
- HTTP Errors
- Static Content
- HTTP Redirection

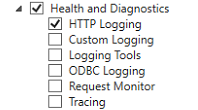
- Health and Diagnostics
- HTTP Logging
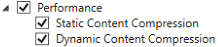
- Performance
- Static Content Compression
- Dynamic Content Compression
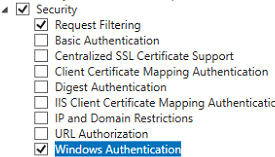
- Security
- Request Filtering
- Windows Authentication
- Application Development
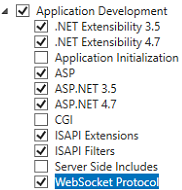
- .NET Extensibility 3.5
- .NET Extensibility 4.7
- ASP
- ASP. NET 3.5
- ASP .NET 4.7
- ISAPI Extensions
- ISAPI Filters
- WebSocket Protocol
- Management Tools
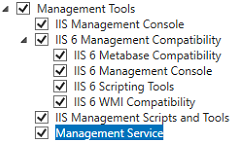
- Select all options, click add features if prompted
Click the Next button.
If the installer prompts for an alternate source path:
-
Click Specify an alternate source path.
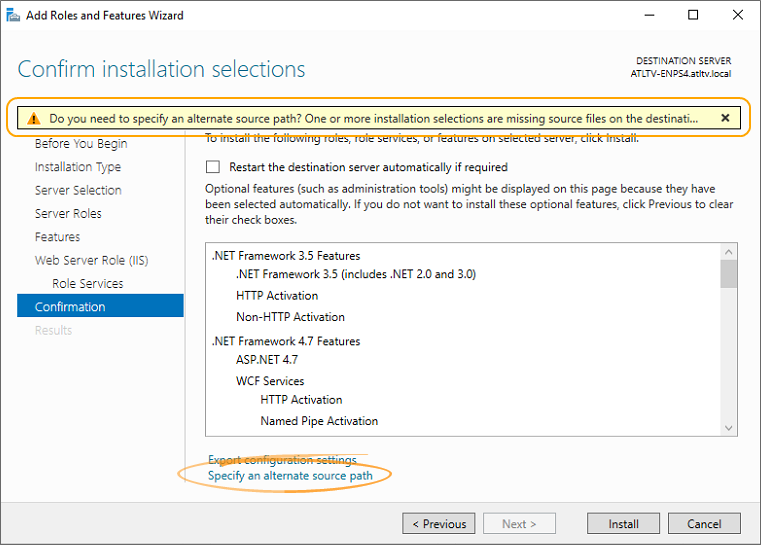
-
Browse to and select the Sources > SxS folder.
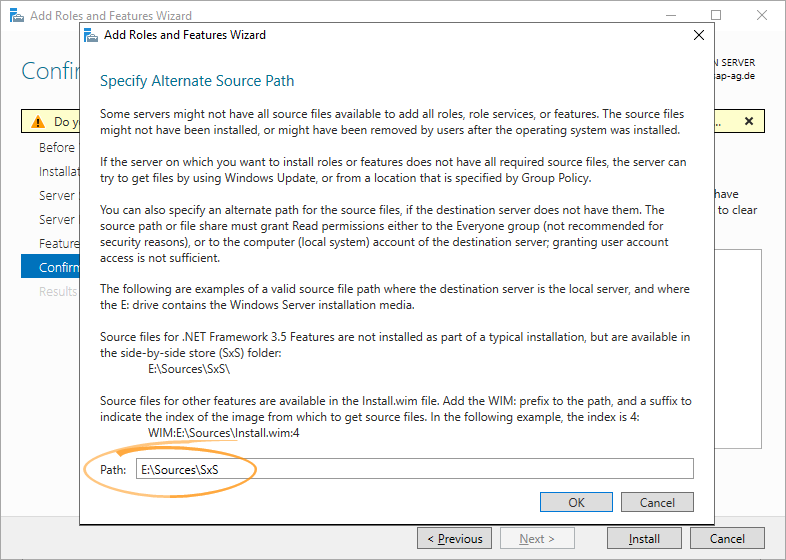
-
Click OK.
Click Install.
Once installation is complete, click Close.
Modify Registry Settings
-
Run REGEDT32 from the command prompt. Navigate to the following key:
HKEY_LOCAL_MACHINE\System\CurrentControlSet\Control\FileSystem
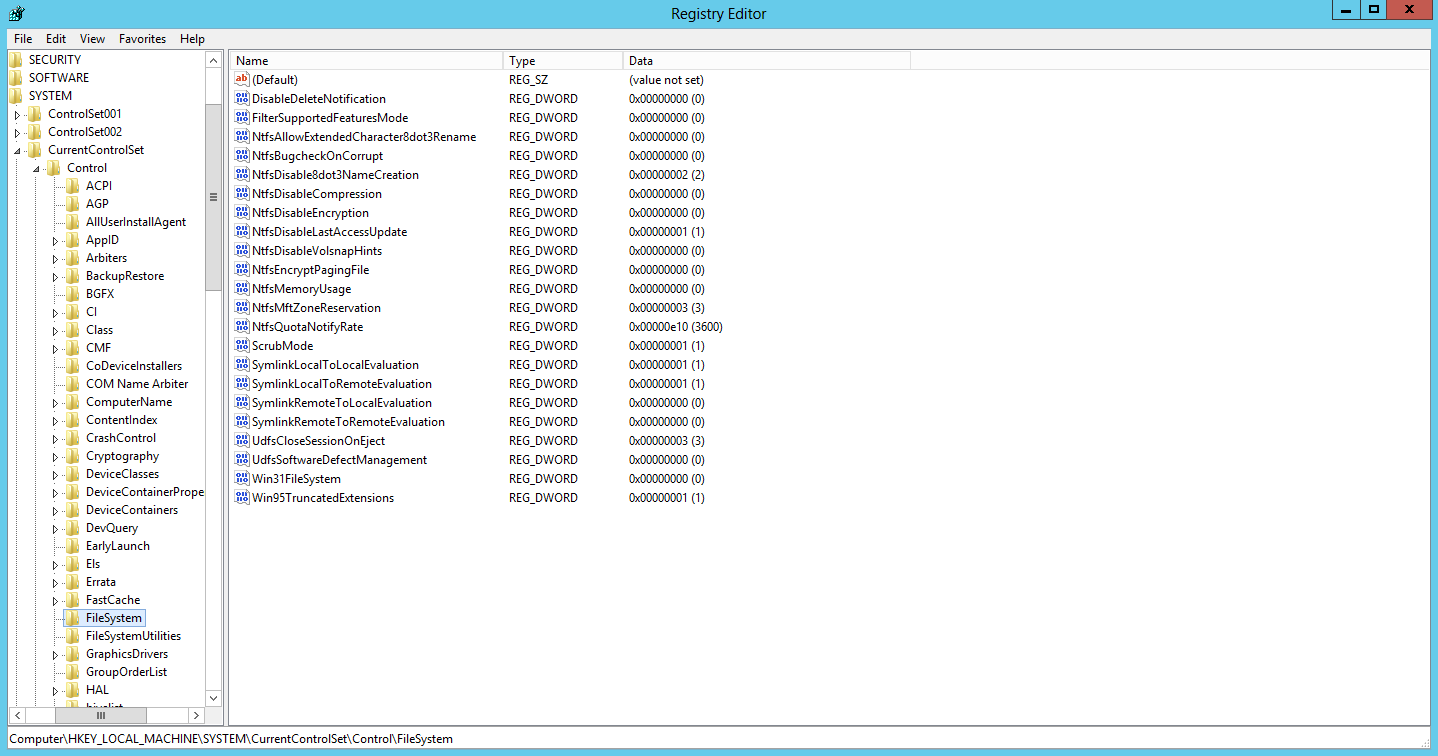
-
If the registry key NtfsMftZoneReservation does not exist, select Edit > New > DWORD Value to create it.
-
Select Edit > Modify and in the Value data field enter the number 3.
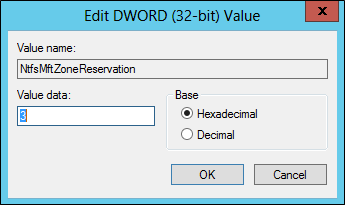
-
Reboot the server for the registry changes to take effect.
Enable Net.TCP Port Sharing Service
Enable the Net.TCP Port Sharing Service:
-
Open the Services Management Console by opening the Windows Star menu
, and either:-
Opening a Command Prompt and entering services.msc, or;
-
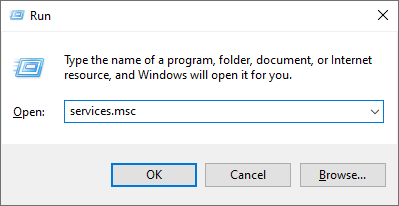
Opening Run and typing services.msc into the Open textbox:
-
-
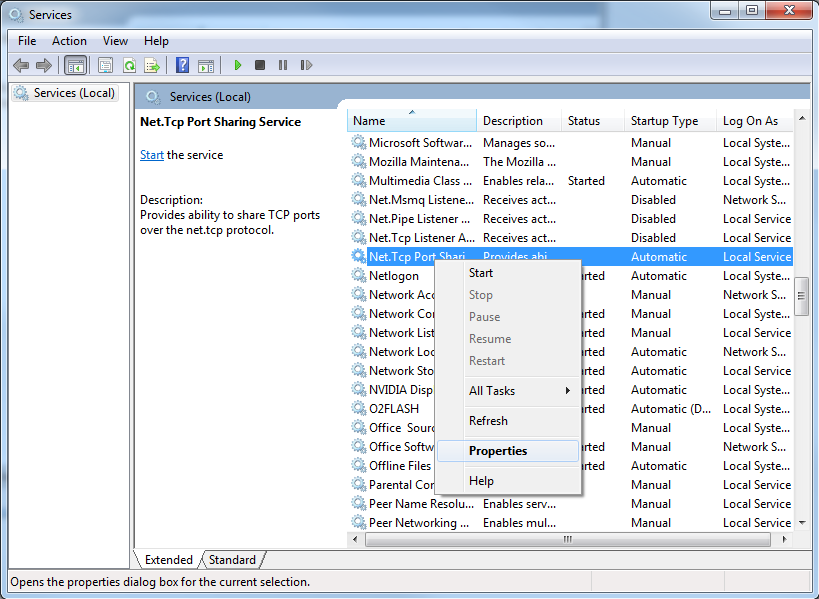
In the Name column of the list of services, right-click on Net.Tcp Port Sharing Service, and select Properties.
-
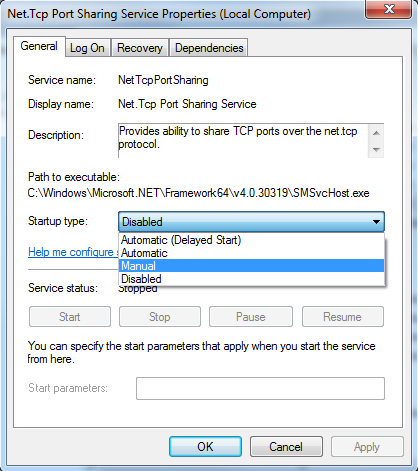
In the Properties window, select General > Startup type > Manual.
-
Click Apply.
-
Click General > Start to start the service.
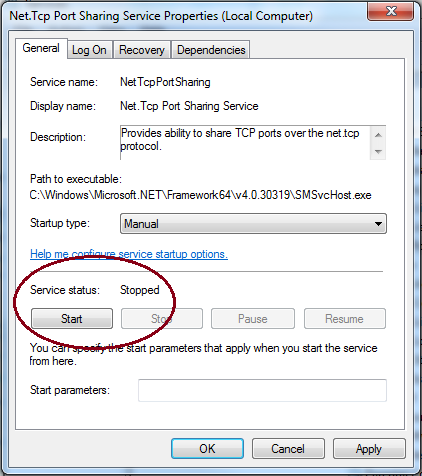
The Service status should now be Running.
-
Click OK.
Partition Drives
After Windows is installed, configure the remaining drive space on the physical volume as a single volume. Use standard allocation unit size, and drive F:
-
Open Disk Management on your server by typing diskmgmt.msc in a run line or navigating there through Computer Management.
-
If the drive letter of your CD-ROM drive is F: you must assign it to D: or another available drive letter since these letters will be used by ENPS partitions. To change a drive letter, right-click on the drive and select Change Drive Letter and Paths.
-
Right-click on the unformatted partition and select Format. When you are prompted for Volume Type, select Primary Partition or select Simple Volume if you are using a dynamic disk.
-
Right click on the disk and select New Simple Volume.
-
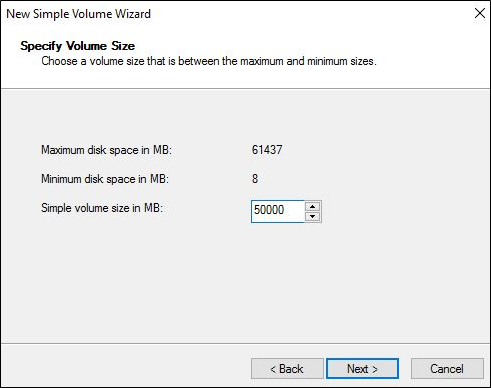
In the Specify Volume Size screen, enter the desired size of each drive in MB. Click Next to continue.
-
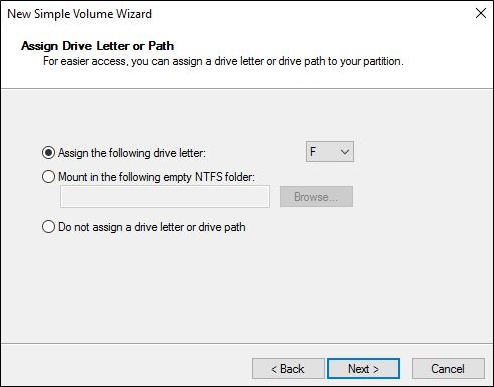
In the Assign Drive Letter or Path screen, choose F in the Assign the following drive letter drop-down menu.
-
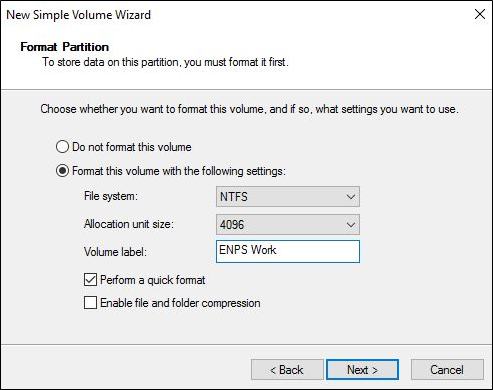
In the Format Partition screen, enter the Allocation unit size and Volume label according to the Partition Sizes table above. Click Next to continue.
-
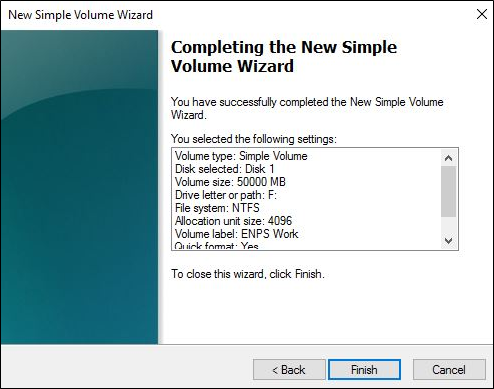
The Completing the New Simple Volume Wizard screen will appear, displaying the settings you selected for the drive. Confirm that the settings for that drive are correct and click Finish.
Set Recycling Settings
-
Right-click on the Recycling Bin and select Properties.
-
Select the F: volume and select the Do not move files to the Recycling Bin option.
-
Select the Display delete confirmation dialog checkbox.

-
Click OK to save your settings.
Disable TOE Settings
Open Command Prompt and run the following commands to disable the TOE settings on your network card:
In the Windows Control Panel, open the properties for your network connection and click Configure. In the Properties window click the Advanced tab. Locate all offload settings and disable them.
Reopen the properties for your network connection and deselect Internet Protocol Version 6 (TCP/IP v6) and click OK.
Configure Windows Update
- Select the Windows Start menu.
- Type
sconfiginto a run line. This will bring up the Server Configuration in a command window. - Type
5for Windows Update Settings. - Type
Dfor download only. - Once complete, close the window.
Next steps
The server is now ready to host the MOS Repeater software. Move on to Install the MOS Repeater.