Upgrade Buddy Server
This applies to upgrading from ENPS 9.0.0.230 or later. See Upgrade from ENPS versions earlier than 9.0.0.230 to upgrade from earlier versions.
Preparation
Before you start the upgrade process, make sure you do the following on the Buddy Server:
-
Check for Windows updates on the Buddy Server, installing and then rebooting the server at a convenient time.
Do not reboot both ENPS servers at the same time.
-
Check the F:\Common folder for unexpected subfolders.
AUDIT, BUDDY, C_SUPPORT, DBSCRIPTS, ELECTION, G_SUPPORT, and G_SUPPORTBACKUP are expected. Any other folders are should be deleted or moved to the C:\ drive.
-
Create a backups folder on your desktop
-
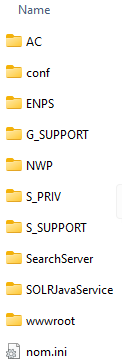
Copy the following files and folders to the backups folder:
C:\inetpub\wwwroot
E:\Search Server\data\enps\conf (if applicable - legacy from v8.2.X)
E:\Search Server\SOLRJavaService (where applicable)
F:\Common\G_Support
F:\ENPS
F:\NOM\nom.ini
F:\NOM\AC
F:\NWP
F:\SearchServer
F:\ServerName\S_SUPPORT
F:\ServerName\S_PRIV
The backups folder should now look like this:
-
Close all ENPS components on the Buddy Server, starting with NOM Watcher.
-
Stop the SOLRJavaServer service:
-
Open the Server Manager tool.
-
Browse to Local Server > Tools > Services.
-
Stop the
SOLRJavaServerservice.
-
Corretto for Solr
Uninstall any versions of Corretto other than version 17:
-
Open
 Start Menu > Apps & Features.
 -
Search the apps list for Corretto.
-
Click on each Corretto entry to check the version.
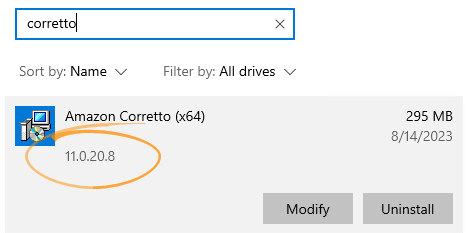
-
Uninstall all Corretto installations that are not version 17.
If you can't uninstall Corretto because it is still in use:
-
Open Task Manager.
-
Open the Services tab.
-
Right-click SolrJavaService in the list and select Stop from the popup menu.
-
Try deleting Corretto again.
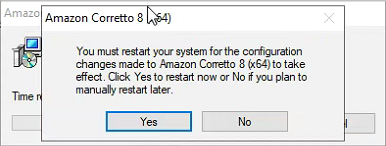
If prompted to restart your system:
-
Remove the Watch.exe shortcut from the startup folders:
-
Click Start, type
Runand enter the following in the Run dialog to open the first startup folder: -
Remove the Watch.exe shortcut from the folder if it exists.
-
Click Start, type
Runand enter the following in the Run dialog to open the second startup folder: -
Remove the Watch.exe shortcut from the folder if it exists.
-
-
Click Yes to restart.
-
For details about using Solr in ENPS, see Solr Search.
Installation
Once all Preparation is complete, continue with installation:
-
Right-click on the ENPS Platform Installer .zip file downloaded in Download Installer and select Properties.
-
Ensure that the General tab > Unblock box is ticked if it exists, then click OK.
-
Extract the ENPS installer from the ENPS Platform Installer .zip file.
-
Run the extracted ENPS Platform Installer.
-
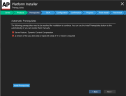
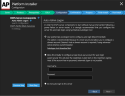
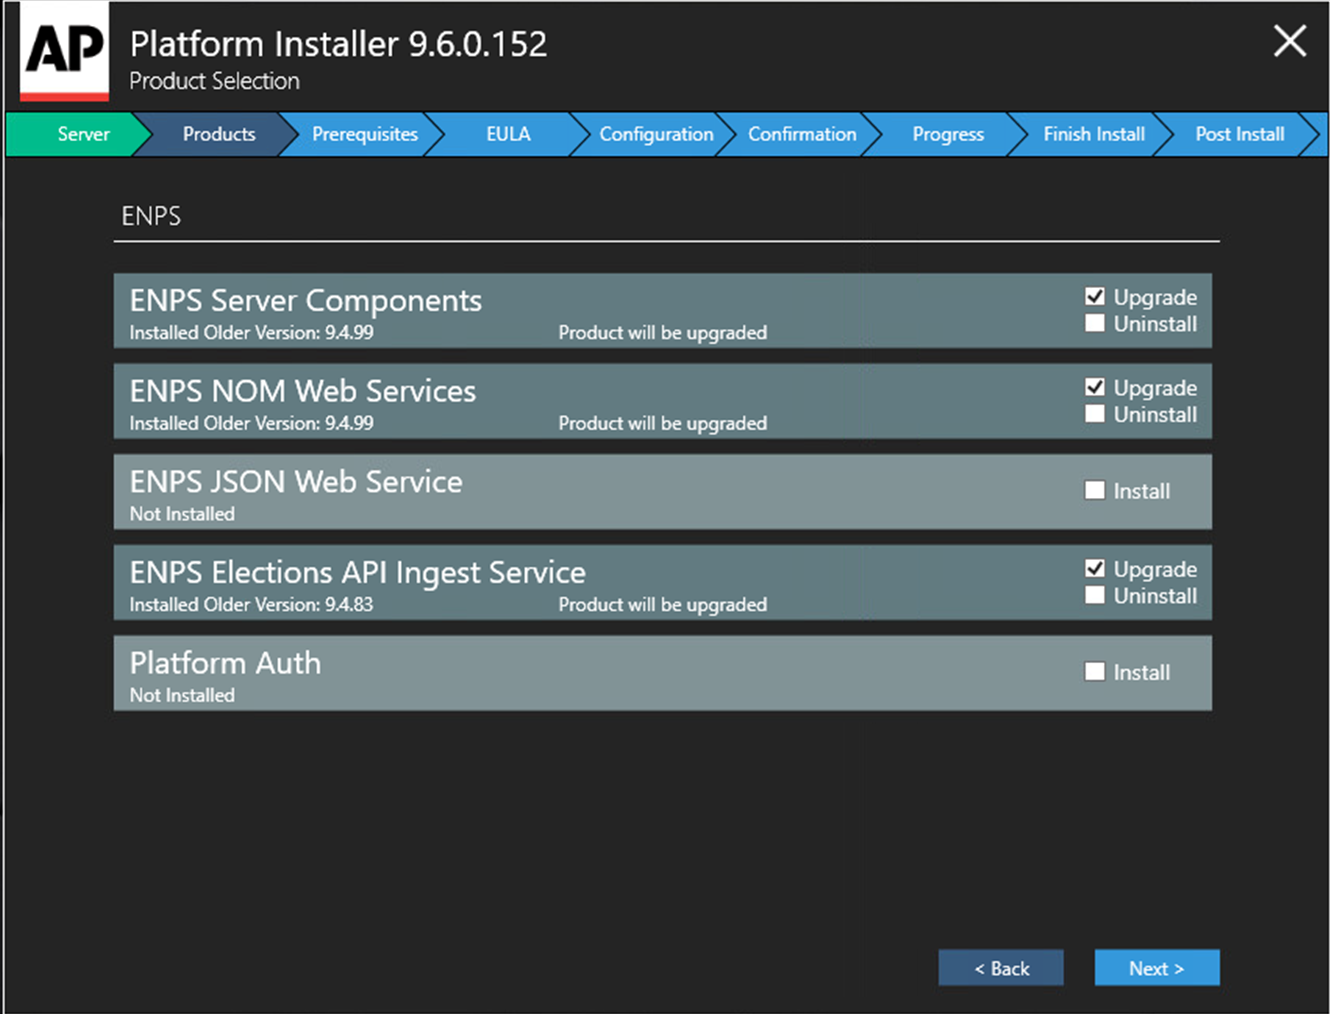
On the Product Selection screen select the following for a typical ENPS installation:
-
ENPS Server Components - Upgrade
-
ENPS NOM Web Services - Upgrade
-
ENPS Elections API Ingest Service - Upgrade or Install
Your screen should look like this:

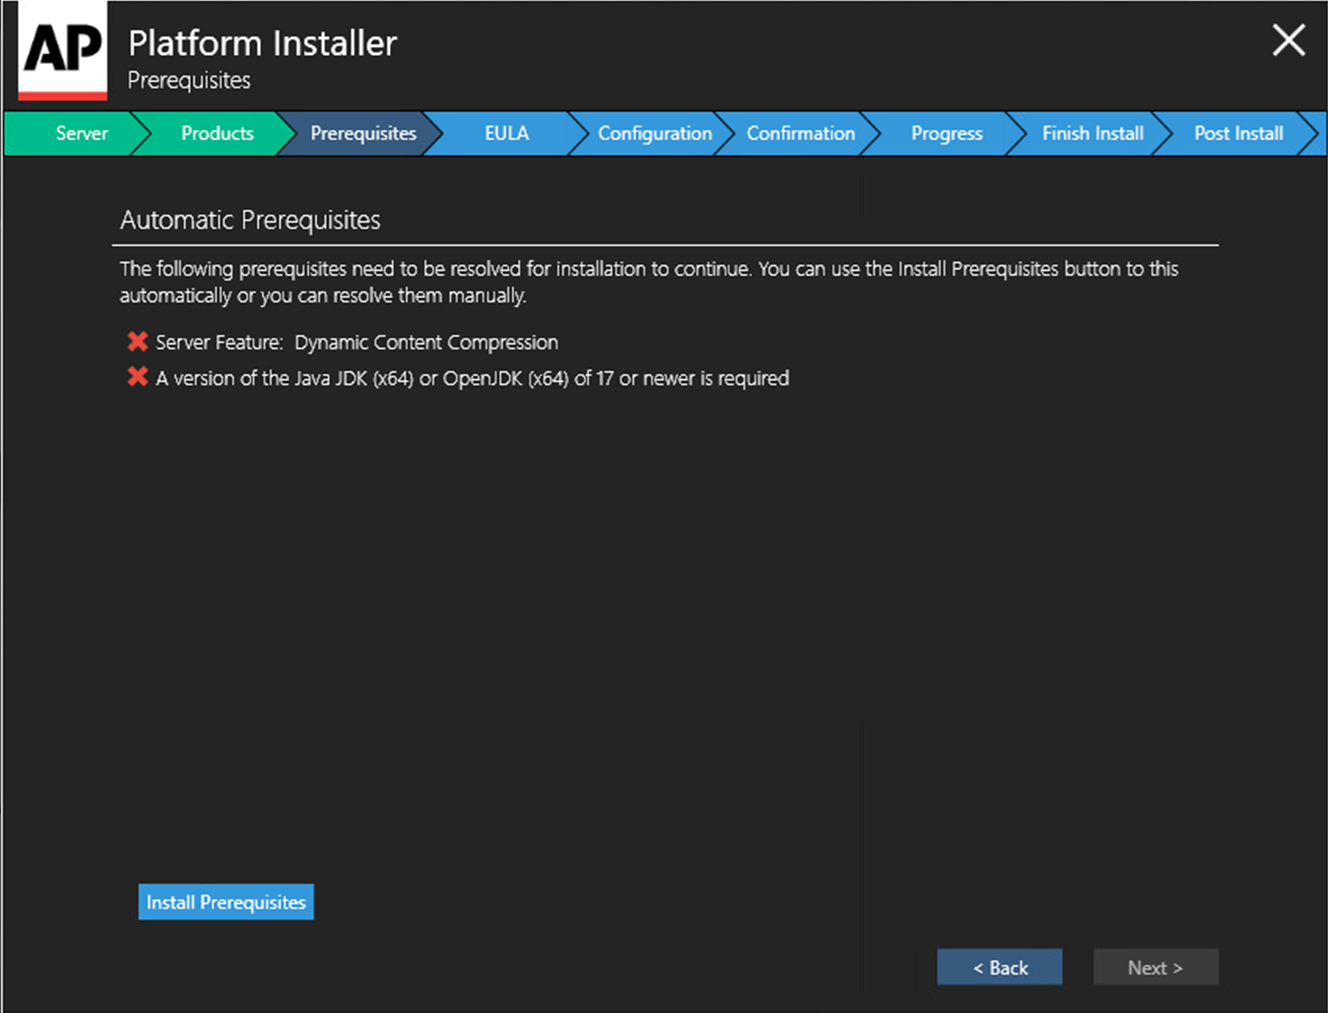
The installer will flag if the server does not meet certain prerequisites, such as the required version of Corretto installed.
If you see this message, click Install Requirements.
Click Next if all prerequisites are met:
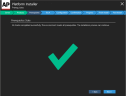
-
-
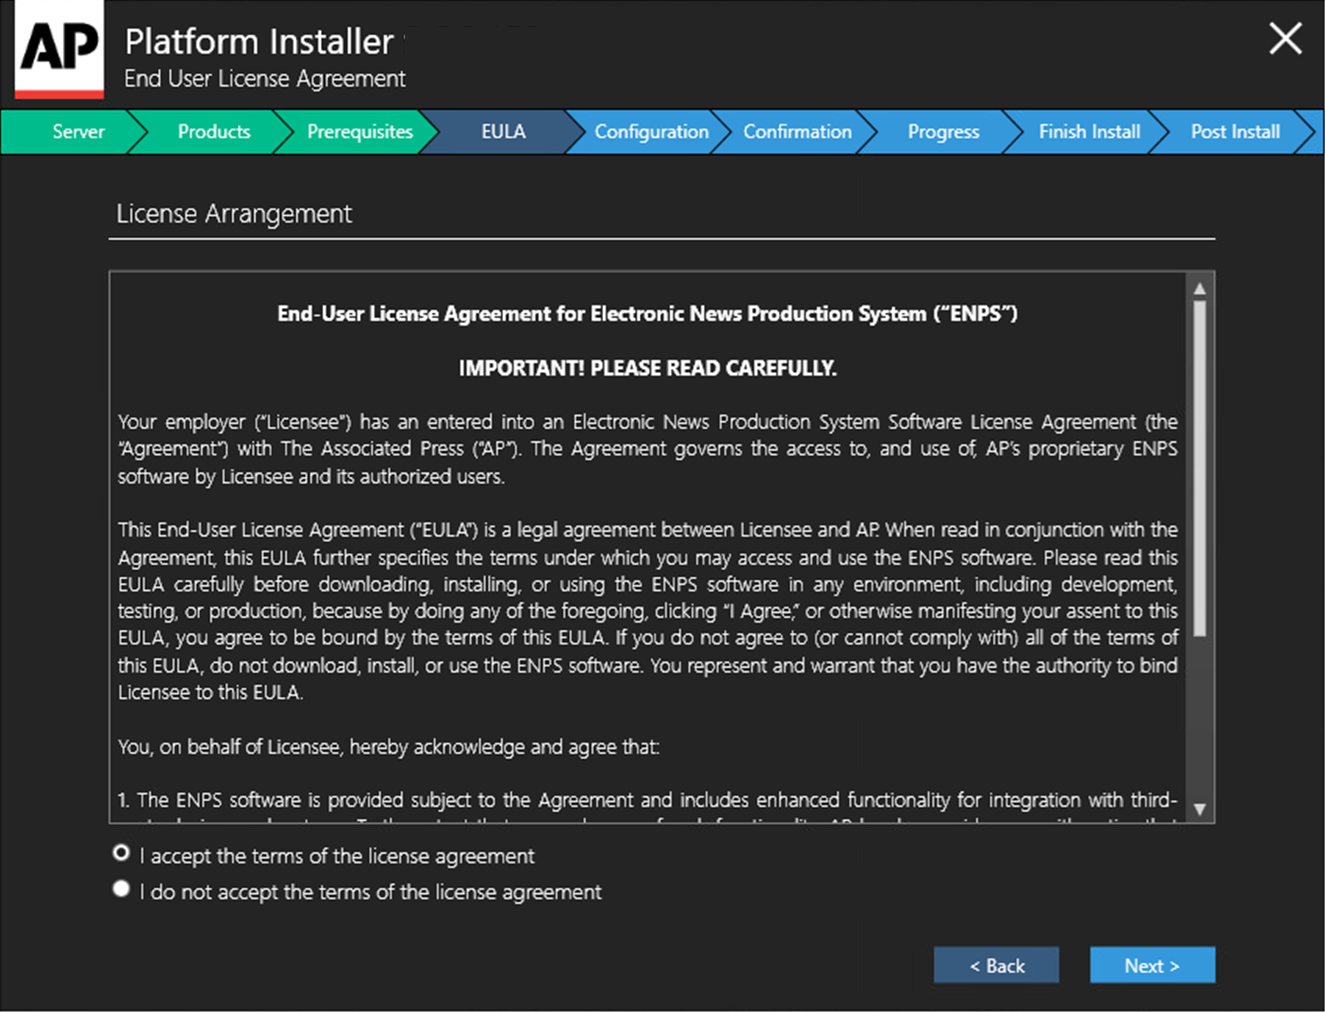
On the End User License Agreement screen, read the agreement and accept the terms.

-
Click Next.
-
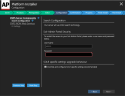
Configure admin login using either:
-
SysInternals Autologon tool (recommended, encrypted):
Click the Autologon tool download link in the installer to get the tool, or browse to https://learn.microsoft.com/en-us/sysinternals/downloads/autologon.
-
Basic local user account (least secure, unencrypted):
Alternatively, do not use auto login on this server.
The actual screens shown in this step depend on what you already have configured. The Do not auto login to this server option is not available if the server is already configured to use an admin login method.
-
-
Click Next.
-
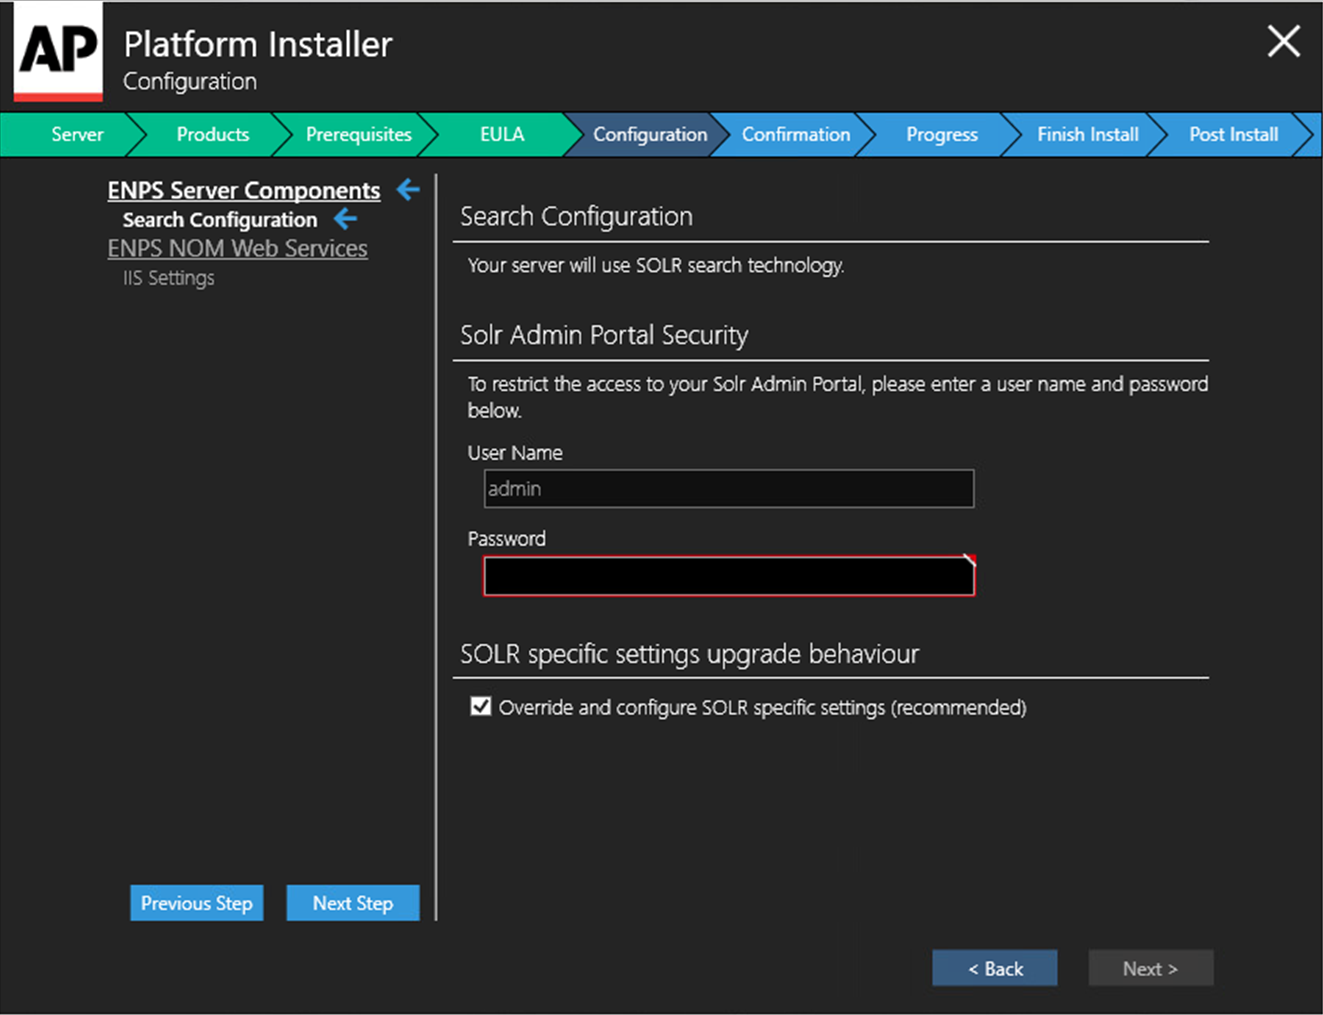
On the Configuration > Search Configuration screen, enter a username and password for Solr and ensure that Override and configure SOLR specific settings is ticked.
Do not forget the User Name and Password as they are required to connect with Solr.
-
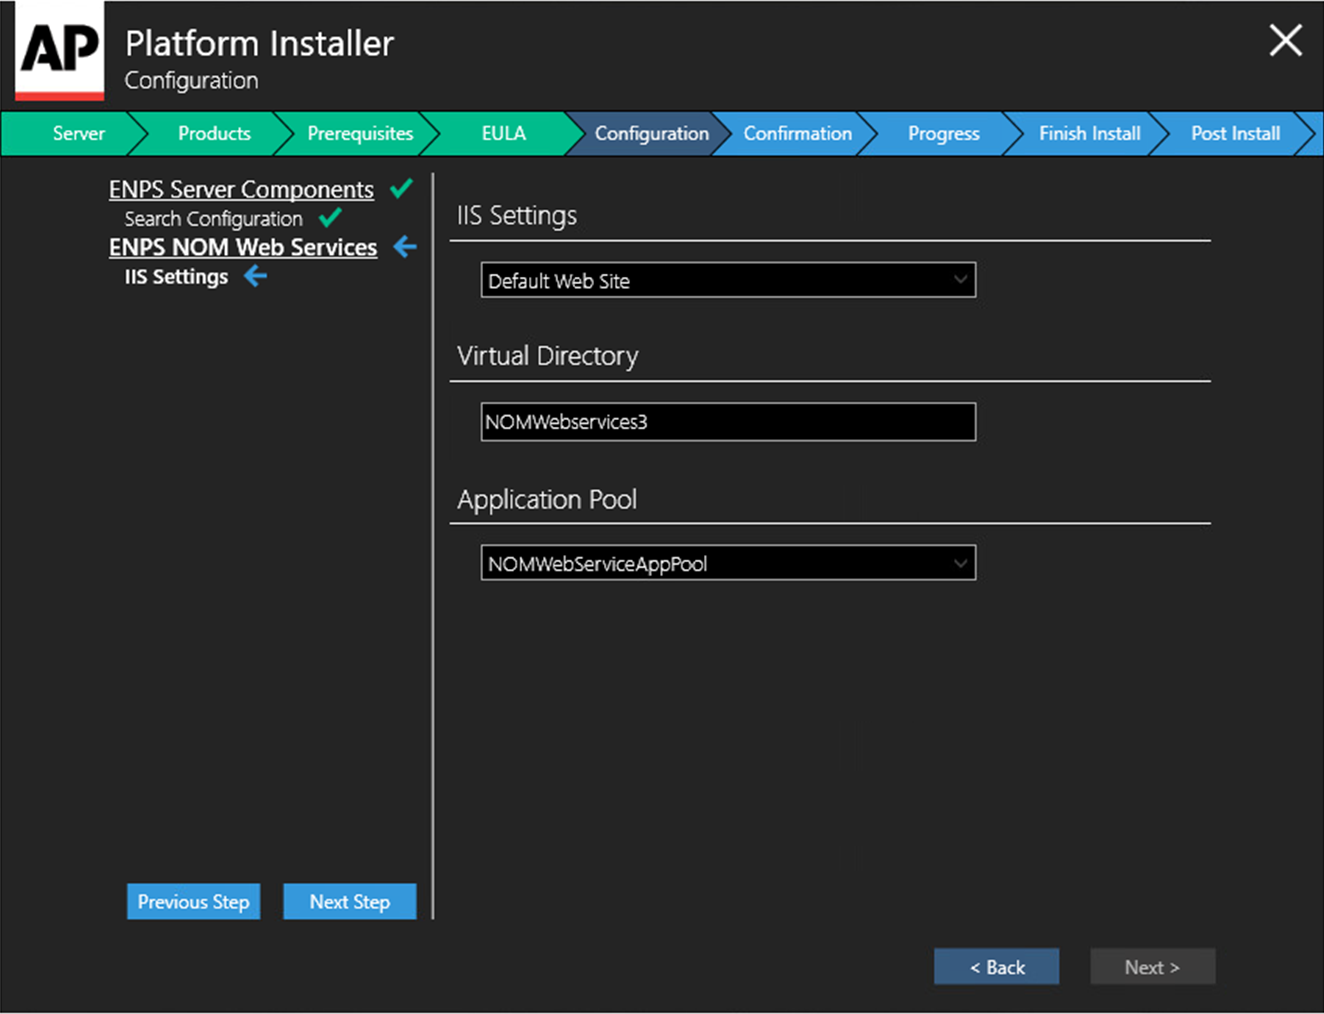
On the Configuration > IIS Settings screen, Webservice should be preselected with the correct Application Pool (NOMWebServicesAppPool).

-
Click Next Step.
-
Click Next.
Click Run in any prompts that appear.
-
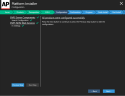
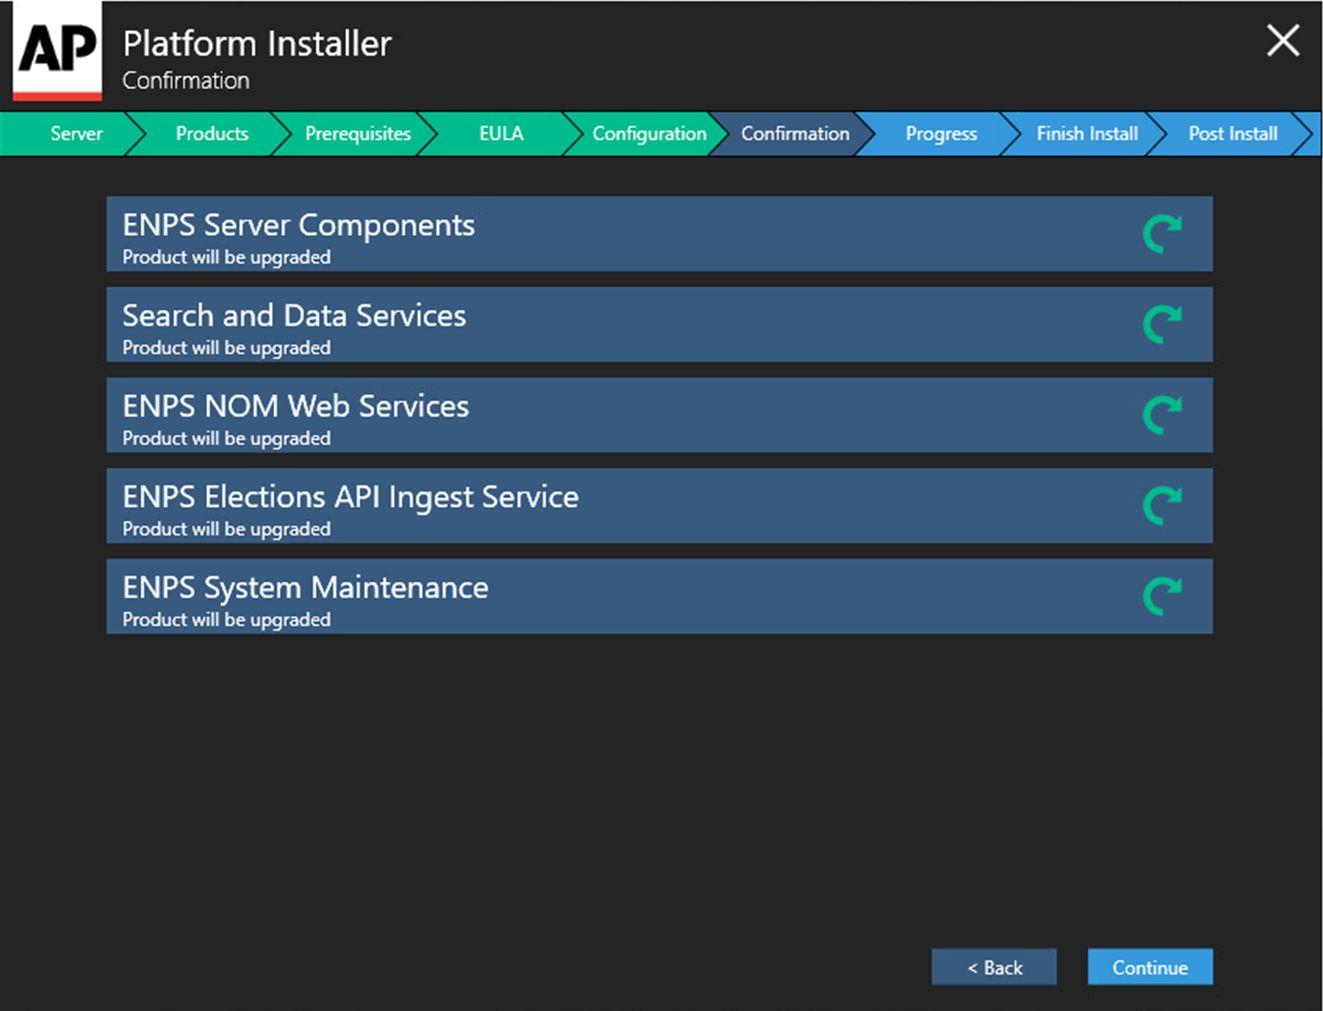
Click Continue to start installation.

-
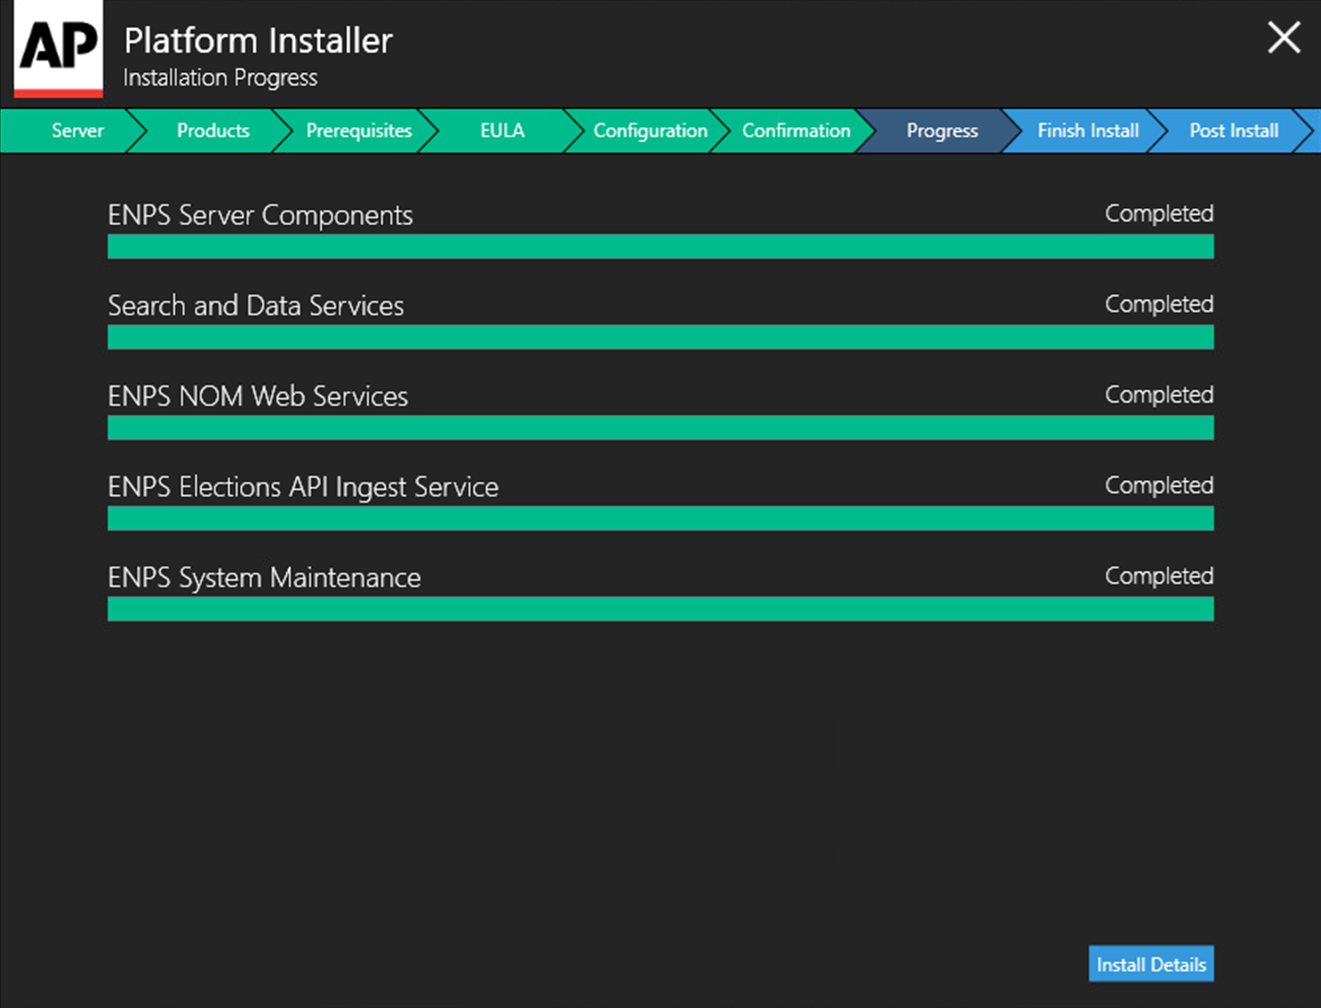
Wait for installation to complete.

-
Copy the G_SUPPORT files:
If your Primary Server is NOT your Central Server, meaning you have a separate Central Server, provided that has been upgraded, then skip this step.
This step is only necessary if your Primary Server is also your Central Server.
-
Open File Explorer.
-
Copy the following files in the F:\Common\G_Support folder:
G_Fielddef
G_Langen
-
Paste them to same folder on the Primay/Central Server.
-
-
Click Install Details.
-
Click Finish.
-
Click OK to close the installer.
Do not start NOM Watcher.


Post-installation
Before Server Restart
After Installation is complete and before restarting the server:
-
Open F:\NOM\NOM.ini in Notepad.
-
Ensure that the following setting exists in the
NOMsection of the file. If not, add it and save the file:
Continue with these steps:
-
If this server ingests FTP wires, confirm if the FTP wire log files (.DC) are in the NWP folder.
If not, restore them from the backup of the NWP folder created during Preparation.
-
Edit the NomWebServiceAppPool application pool:
-
Open Internet Information Services (IIS) Manager.
-
In the Connections pane, expand the server name and select Application Pools.
-
In the Application Pools pane on the right, right-click NomWebServiceAppPool and select Advanced Settings.
-
Set the Idle Time-out (minutes) option to 0 in the Advanced Settings popup.

-
Click OK.
-
Right-click NomWebServiceAppPool again and ensure that it is started.
-
-
Delete the contents of the F:\NOM\MOS\OUT folder if it exists.

Now restart the Buddy server.
After Server Restart
After restarting the Buddy Server:
-
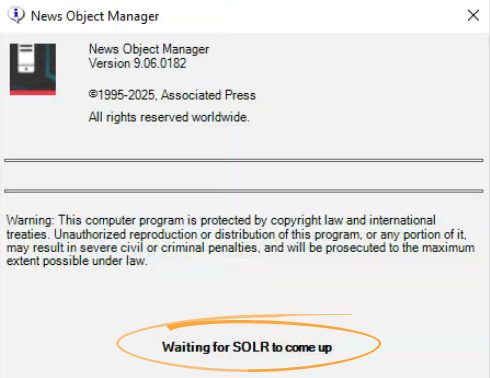
Wait for Solr to start if prompted.
After a restart it can take several minutes for Solr to become fully functional. The NOM may indicate as such.
You can proceed once this screen has disappeared and the NOM has fully launched.
-
Open the NOM Buddy Maintenance tool on the Primary Server.
-
Regenerate the schema by entering the following at a command prompt.
-
Open the News Wire Profiler on the Primary and Buddy Servers, and ensure that wires are coming in on both.
For any wires not coming in, try unticking and reticking their Active box.
-
At a convenient time, fail users over to the upgraded Buddy Server for a time with live shows to make sure it is fully functional.
NOM Maint Processes
There are three processes that you may find need fine-tuning to run certain tasks when it's the least busiest time for your users:
-
Delete Expired Items time in NOM Maintenance.
-
Folder Info time in NOM Maintenance.
-
NOM Web Services Application Pool recycle time in Internet Information Services (IIS) Manager.
By default, ENPS sets these to 2:00am local time. However, this time may not be the least busy time for your users and may cause disruptions.
Therefore, we suggest that you poll your editorial leaders to determine the time that is least busiest, and set the tasks in the three processes to run around that time on the Primary and Buddy servers. See the sub-sections below for instructions.
If you adjust the NOM Maintenance times you may also need to adjust the create times of any rundowns that are autocreated.
Rundowns should not be set to autocreate within the same hour as the Delete Expired Items on the Primary Server. For example, if Delete Expired Items is set for 00:30, no rundowns should be set to autocreate from 00:30-01:30.
Primary Server Times
On the Primary Server:
-
Open NOM Maintenance.
-
Open Window > Delete Expired Items.
-
Set the Delete expired items each day at to field to the time the editorial leader said was least busy.
For example, to set to 1am enter
01:00:00. -
Open Window > Folder Info.
-
Set the Scan folders each day at field to one hour later than the Delete expired items each day at to time.
For example, if that field was set to
01:00:00then enter02:00:00here.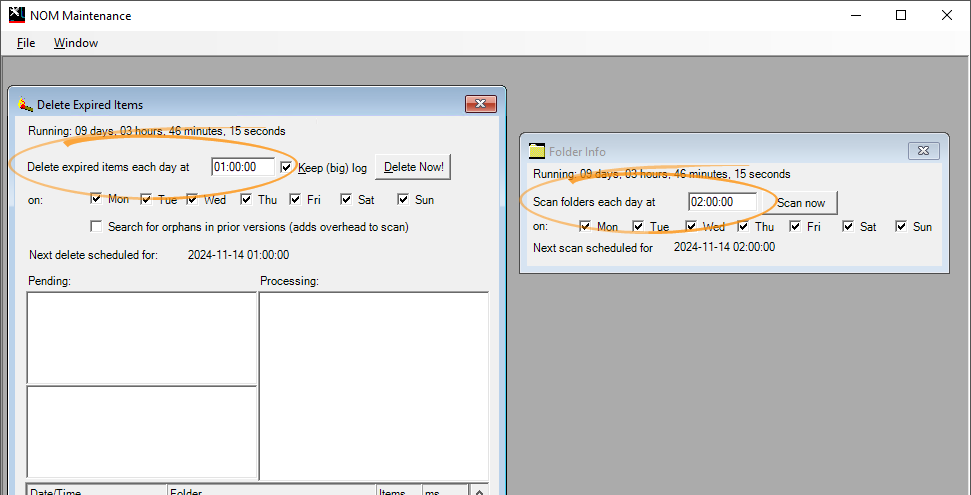
-
Open Internet Information Services (IIS) Manager.
-
Expand the server name in the Connections pane and click Application Pools.
-
Right-click
NOMWebServicesAppPooland select Recycling... from the popup menu. -
Set Specific time(s) to 10 minutes earlier than the Delete expired items each day at to field.
For example, if that field was set to
1:00:00then enter00:50here. Note that seconds aren't required.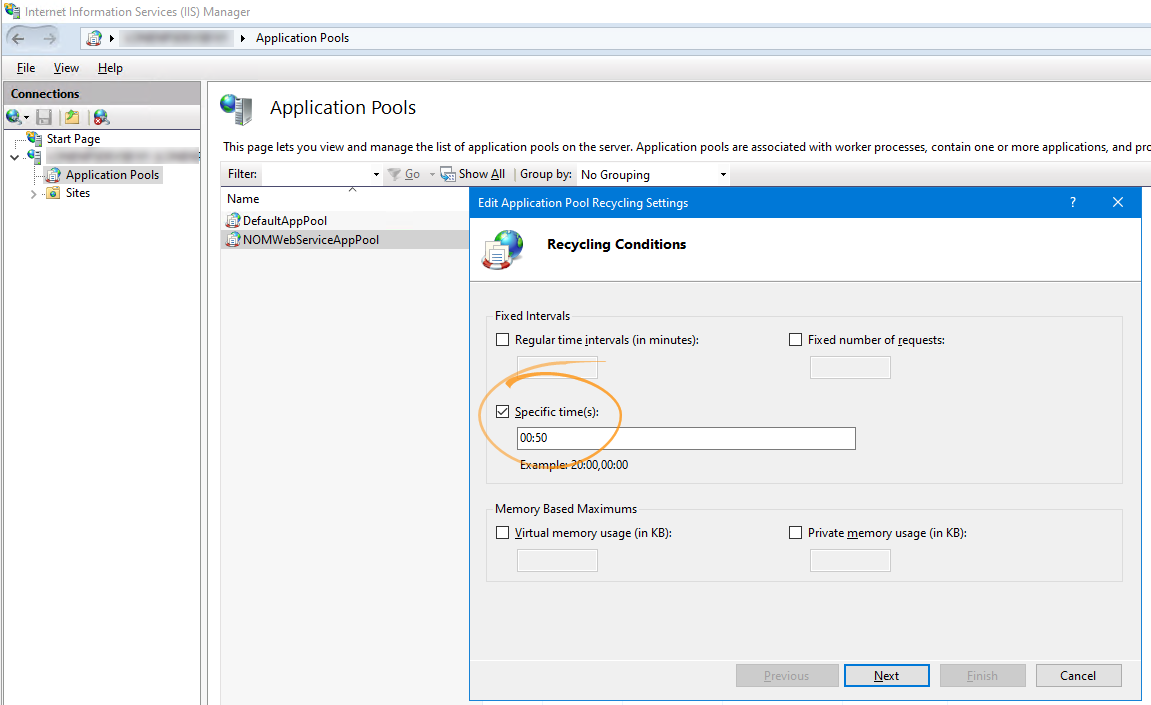
Ensure nothing else is checked under Fixed Intervals.
-
Click Next.
-
Click Finish.
-
Restart IIS.
Buddy Server Times
On the Buddy Server:
-
Open NOM Maintenance.
-
Open Window > Delete Expired Items.
-
Set the Delete expired items each day at to field to the same as the Folder Info > Scan folders each day at field on the Primary Server.
For example, if Delete expired items each day at to was set to
01:00:00on the Primary Server then set Folder Info > Scan folders each day at to02:00:00on the Buddy Server. -
Open Window > Folder Info.
-
Set the Scan folders each day at field to one hour later than the Delete expired items each day at to time.
For example, if that field was set to
02:00:00then enter03:00:00here.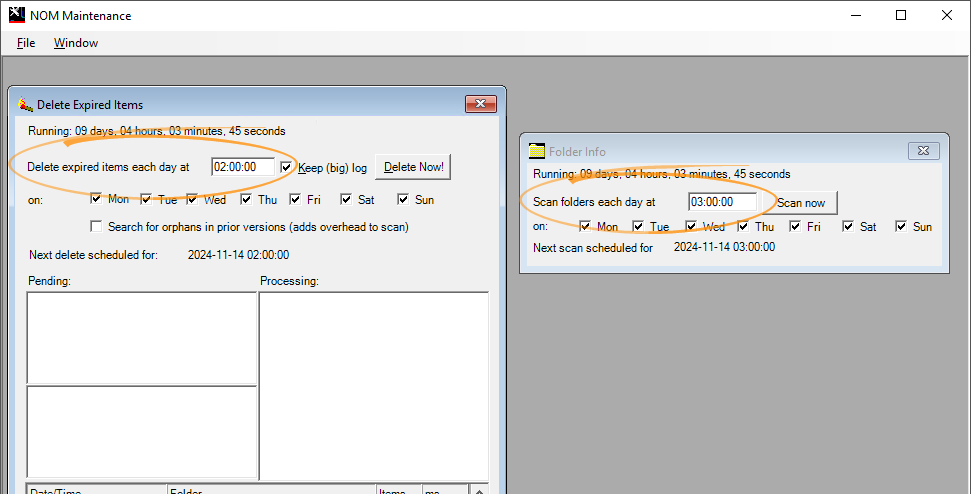
-
Open Internet Information Services (IIS) Manager.
-
Expand the server name in the Connections pane and click Application Pools.
-
Right-click
NOMWebServicesAppPooland select Recycling... from the popup menu. -
Set Specific time(s) to 10 minutes earlier than the Delete expired items each day at to field.
For example, if that field was set to
2:00:00then enter01:50here. Note that seconds aren't required.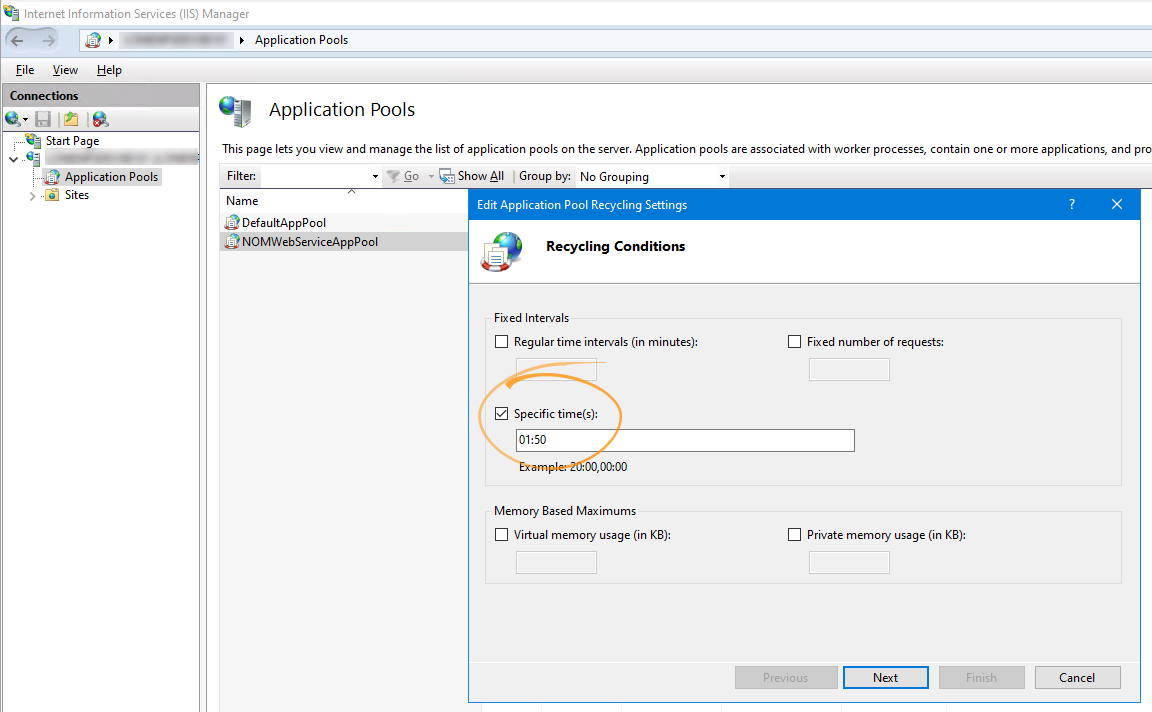
Ensure nothing else is checked under Fixed Intervals.
-
Click Next.
-
Click Finish.
-
Restart IIS.
Solr Recrawl
Perform a recrawl only if you are updating from 9.5.0 or earlier.
To do so, open a command prompt and enter:
Recrawling data does not impact users. It simply means that searching in ENPS will gradually become available on the server as data is reindexed.
Next Steps
You have now upgraded the Buddy Server!
Proceed to Upgrade Primary Server if not already done. Otherwise proceed to Upgrade Mobile Server if applicable.