Upgrade ENPS Mobile
This section covers upgrading to ENPS Mobile 9.6.
Preparation
Download Installer
Download the ENPS Mobile Platform Installer:
-
Open the ENPS Downloads site.
Contact Us if you need a link for the download site. Include your name and the name of your organization with your request.
-
Log in using your ENPS Downloads site account.
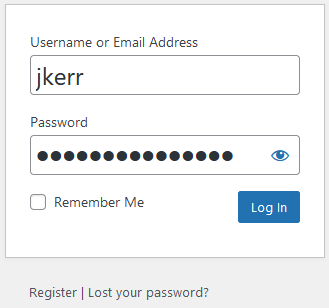
If you haven't yet registered, click Register and enter your details. You will receive a confirmation email confirming your account. Please allow one business day to gain access.
If you've forgotten your password, click Lost your password? and follow the instructions to recover your account.
-
Navigate to the ENPS Mobile page on the site.
-
Download the ENPS Mobile Platform Installer zip file for the version of ENPS you are installing/upgrading to - i.e. 9.6.0 or 9.6.1.
-
Save the installer zip file to the desktop.
Upgrade
Run the ENPS Mobile Platform Installer to upgrade ENPS Mobile:
-
Right-click on the ENPS Platform Installer zip file downloaded earlier and select Properties.
-
Ensure that the General > Unblock box is ticked if it exists, then click OK.
-
Extract the contents of the Platform Installer zip file to the root of the ENPS Work Drive, which is usually the F: drive:
Do not extract to a different location, such as the Downloads folder. If extracted to another location such as the Downloads folder, the Platform Installer may crash or get stuck when run.
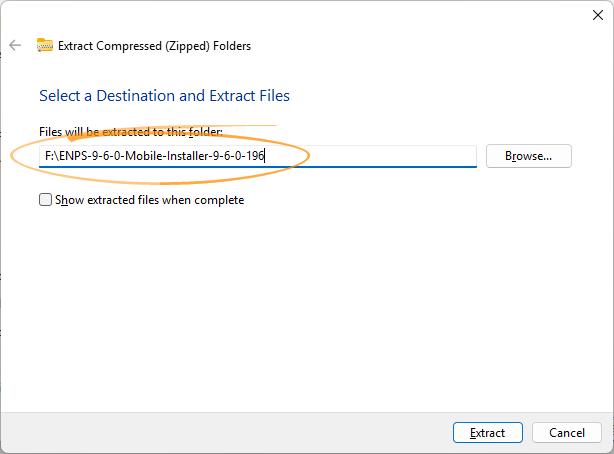
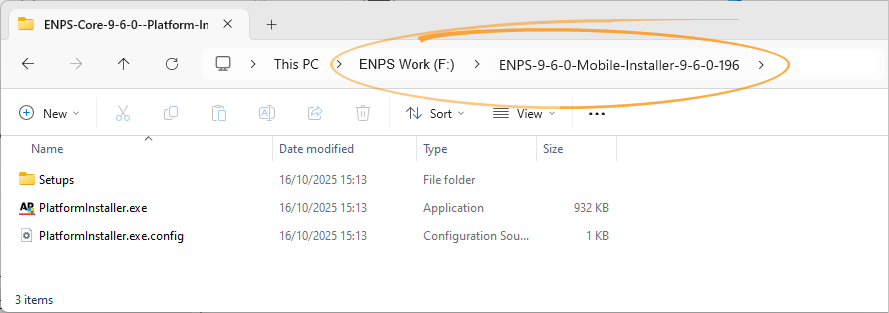
This creates the following files/folders:
-
Run the PlatformInstaller.exe file from that location to start the Platform Installer.
The Platform Installer must be run from the root of the ENPS Work drive. Not doing so may result in the Platform Installer crashing or getting stuck.
The Platform Installer may not run if the zip file was not unblocked in the earlier steps.
-
Follow these instructions on each screen:
Platform Installer screen
Instructions
Start View
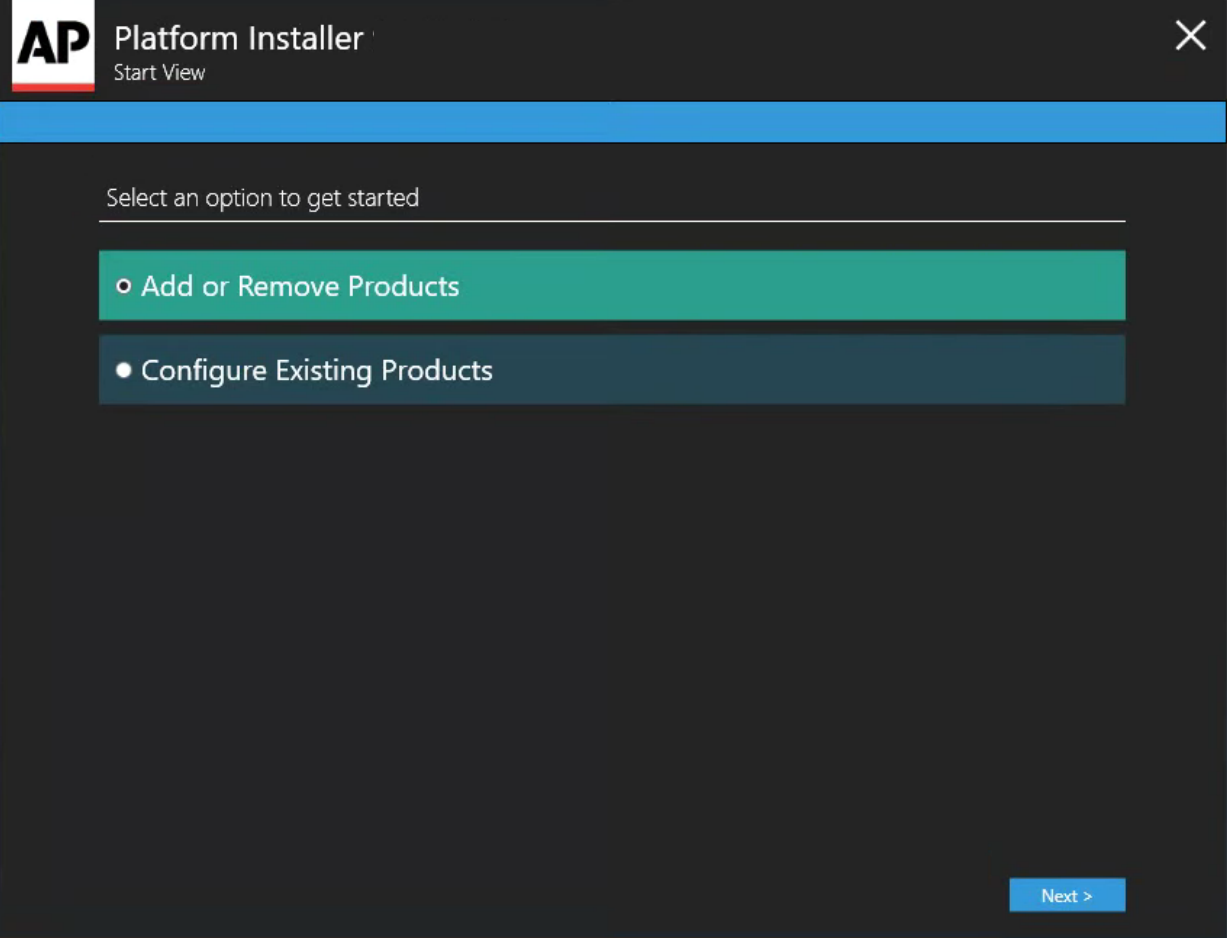
Select Add or Remove Products.
Server Type
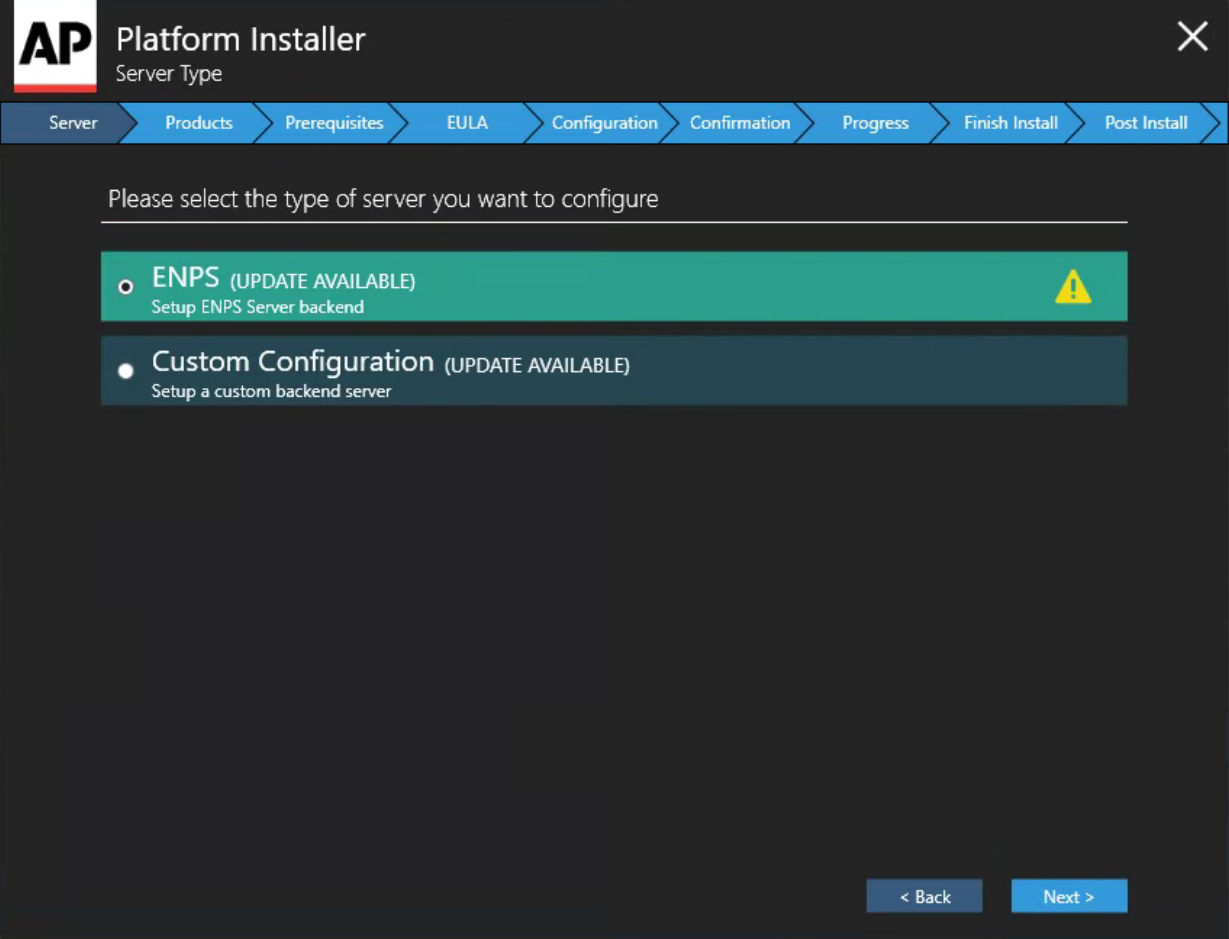
Select ENPS (UPDATE AVAILABLE).
Product Selection
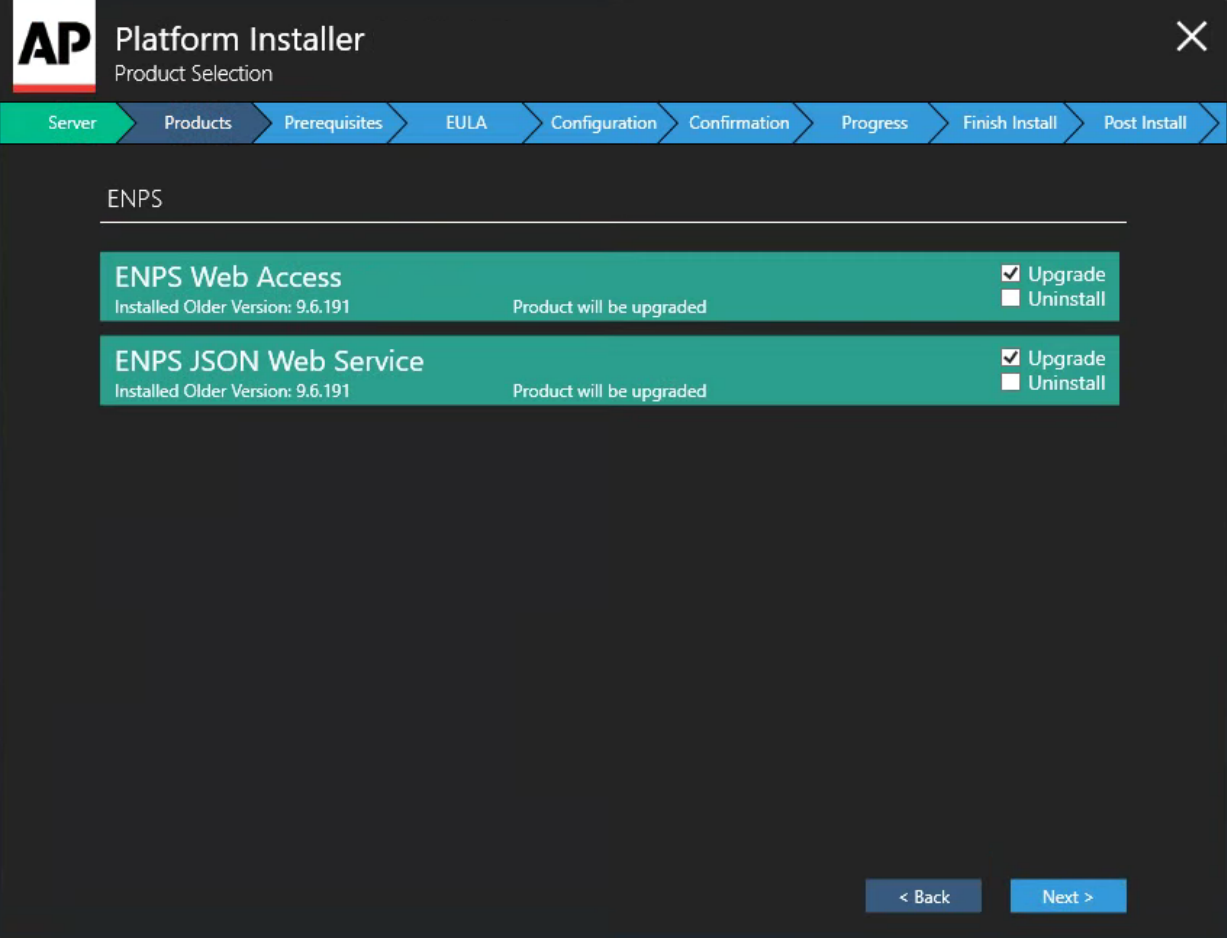
Select both products to upgrade by ticking the Upgrade boxes:
-
ENPS Web Access - upgrades ENPS Mobile.
-
ENPS JSON Web Service- upgrade required for ENPS web server.
Prerequisites
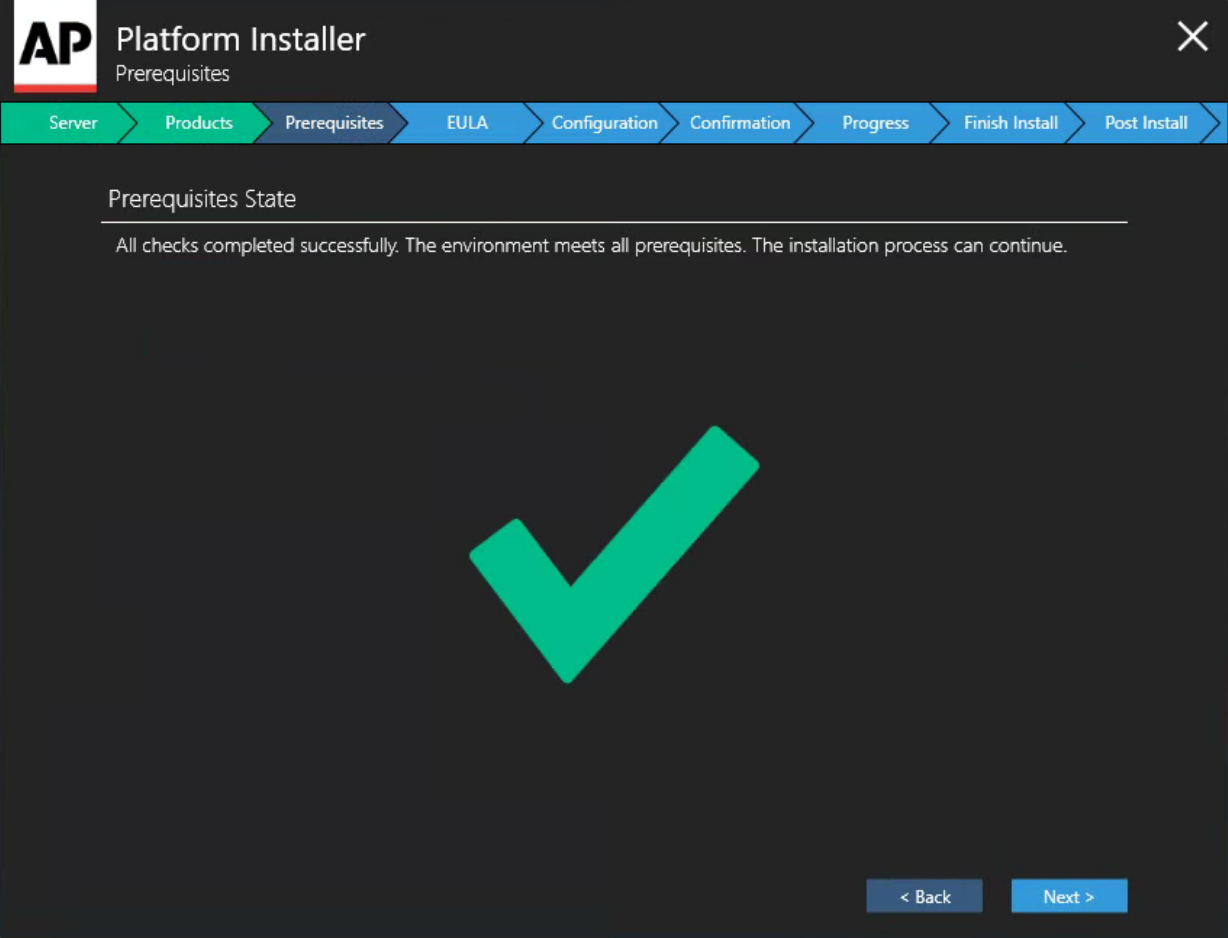
Click Install Prerequisites to install any missing prerequisites.
End User License Agreement
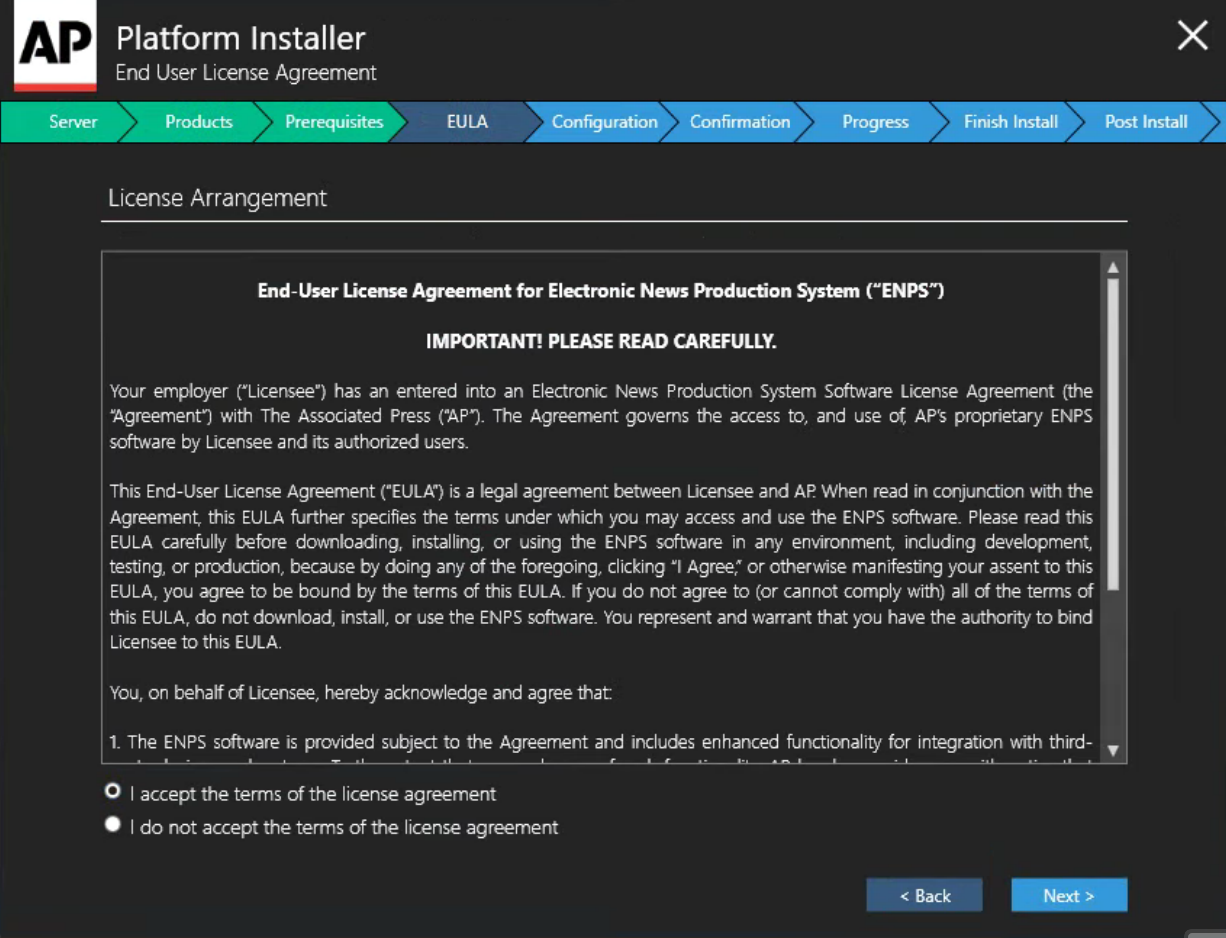
Read the agreement and select I accept the terms of the license agreement.
Configuration
(ENPS Web Access)
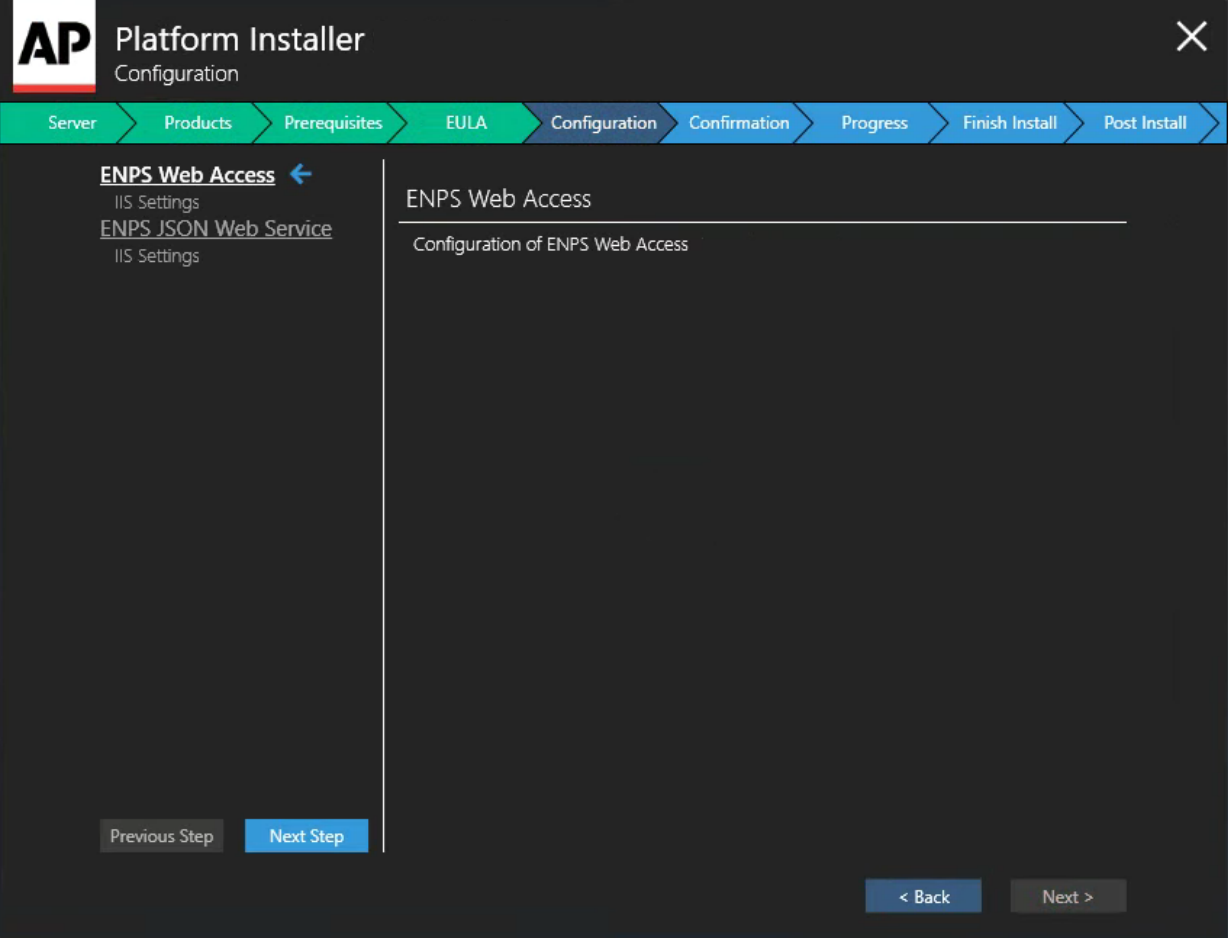
Click Next Step after completing each screen.
IIS Settings
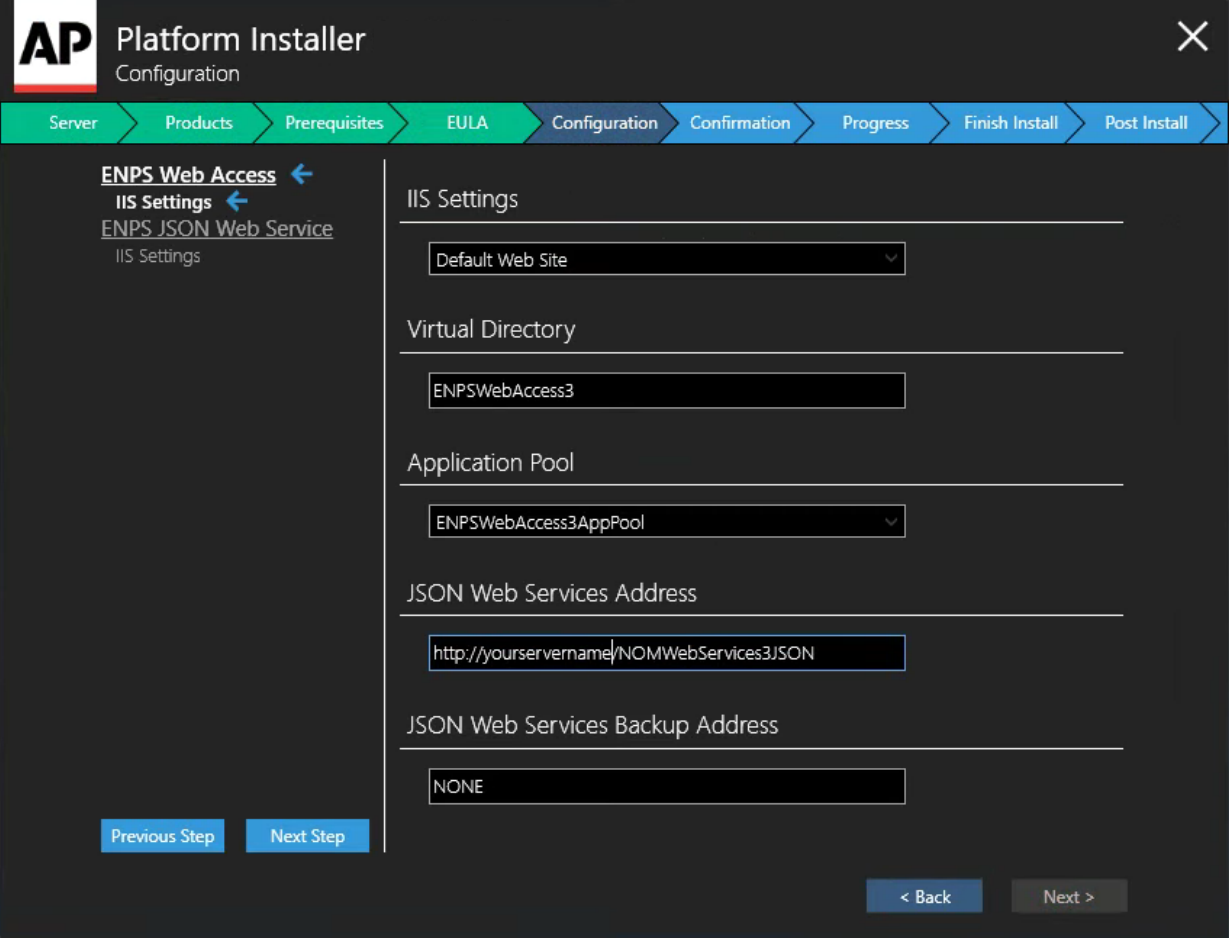
Set each field:
-
ISS Settings - Enter
Default Web Site. -
Virtual Directory - Enter
ENPSWebAccess3. -
Application Pool - Enter
ENPSWebAccess3AppPool. -
JSON Web Services Address - Enter your server name followed by
/NOMWebServices3JSON.For example, if your JSON Web Services server is located at https://servername.site.com, enter
https://servername.site.com/NOMWebServices3JSON. -
JSON Web Services Backup Address - If the site has a backup JSON address then enter it in this field. Otherwise, enter the same address as the main JSON Web Services Address entered above.
Configuration
(ENPS JSON Web Service)
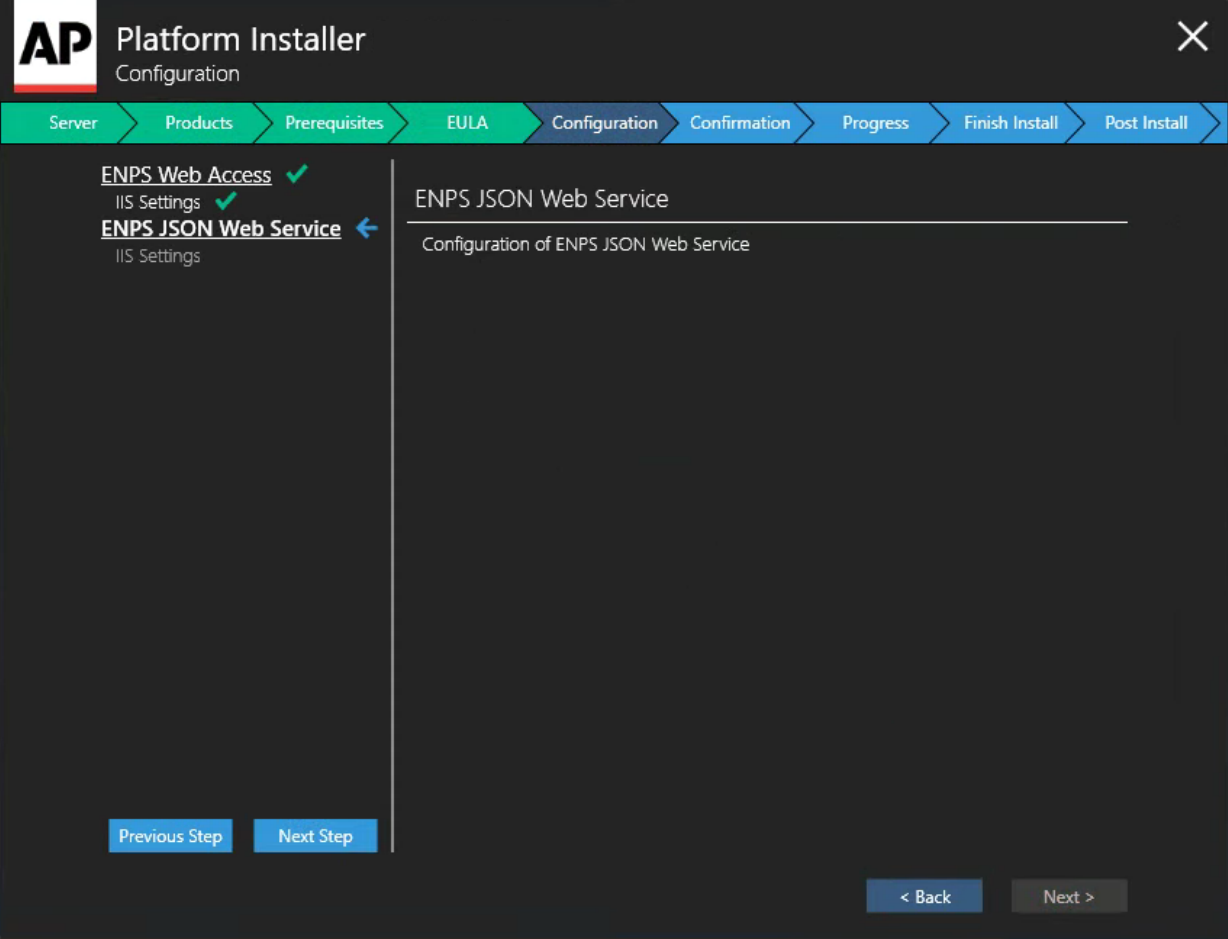
Click Next Step after completing each screen.
IIS Settings
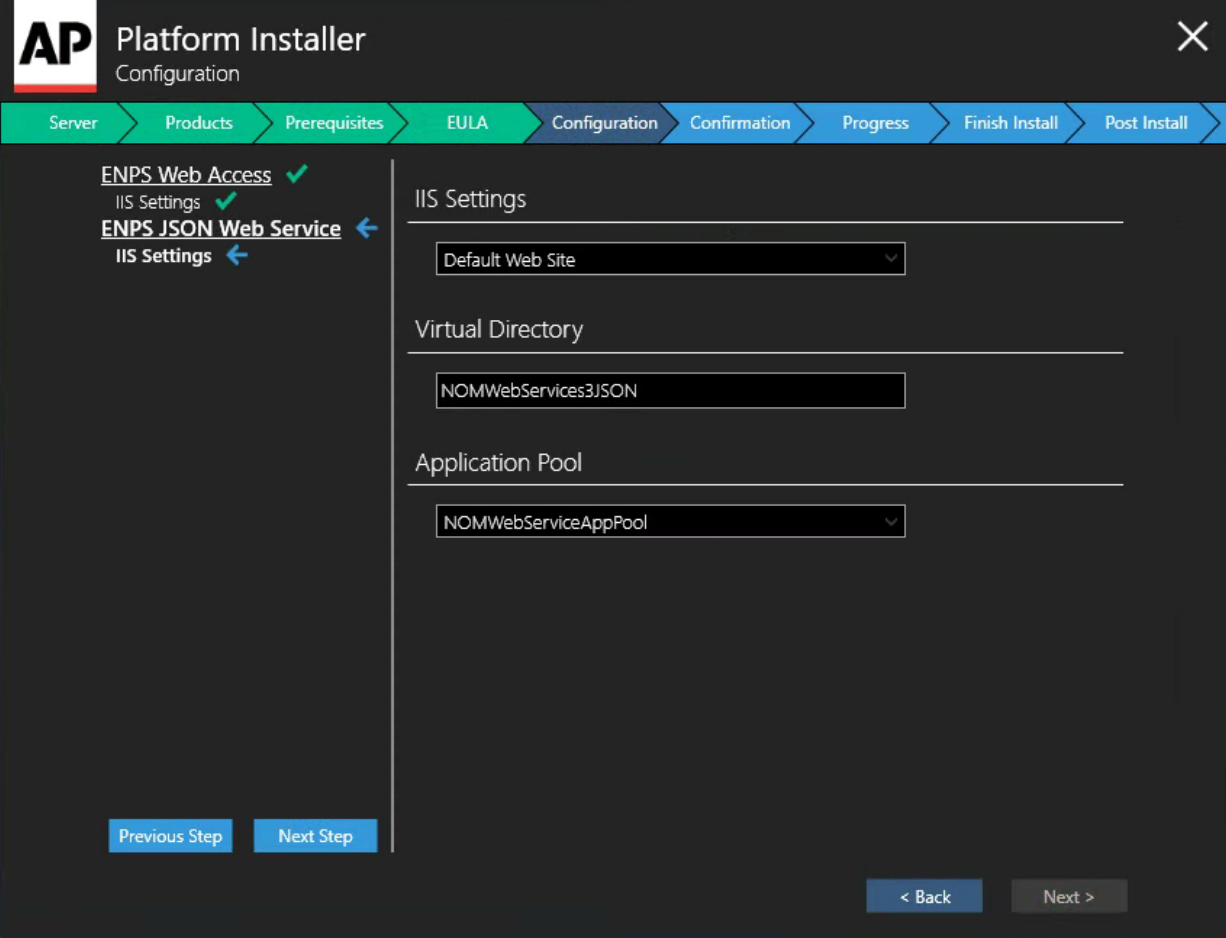
Set each field:
-
ISS Settings - Enter
Default Web Site. -
Virtual Directory - Enter
NOMWebservices3JSON. -
Application Pool - Enter
NOMWebServiceAppPool.
Configuration
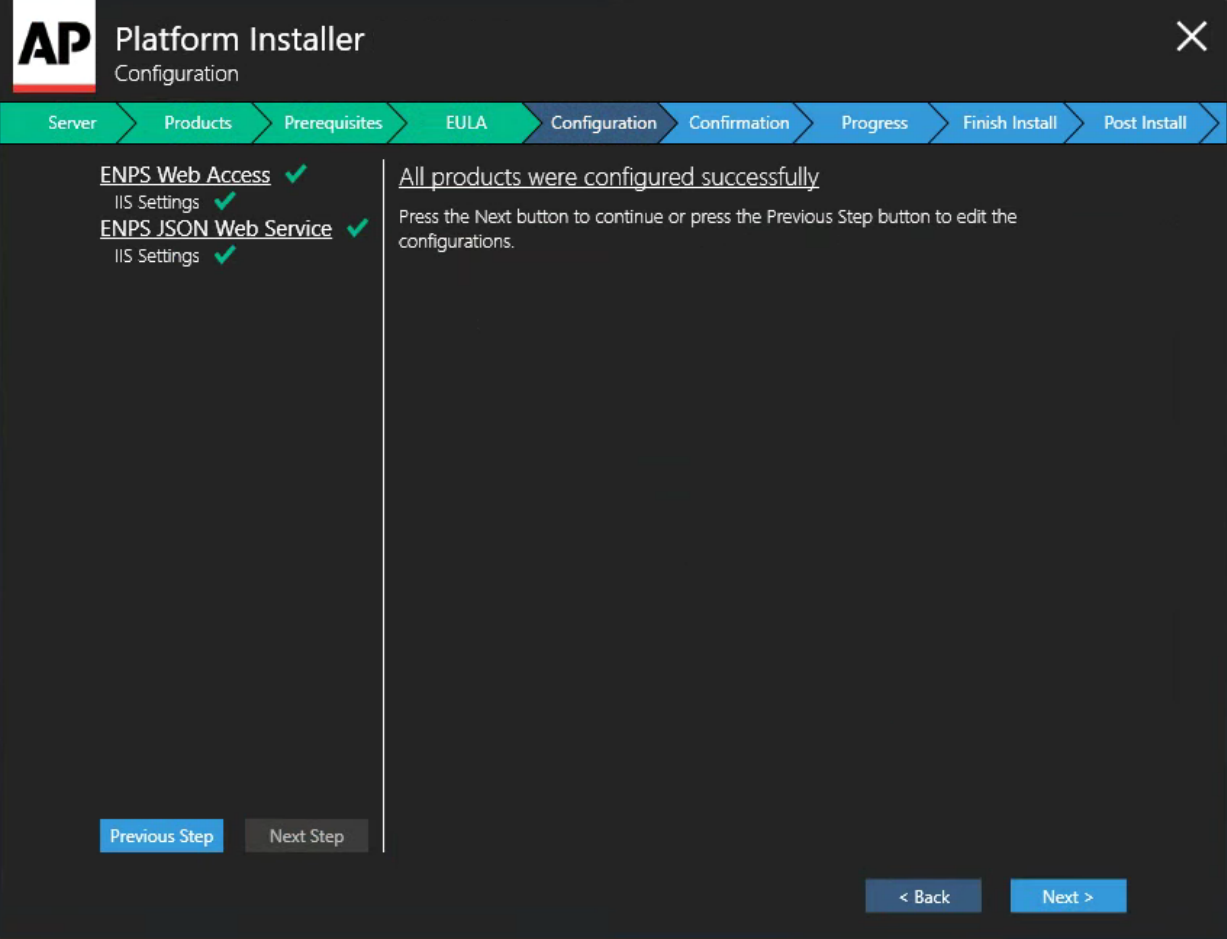
Click Next if all products were configured successfully.
Confirmation
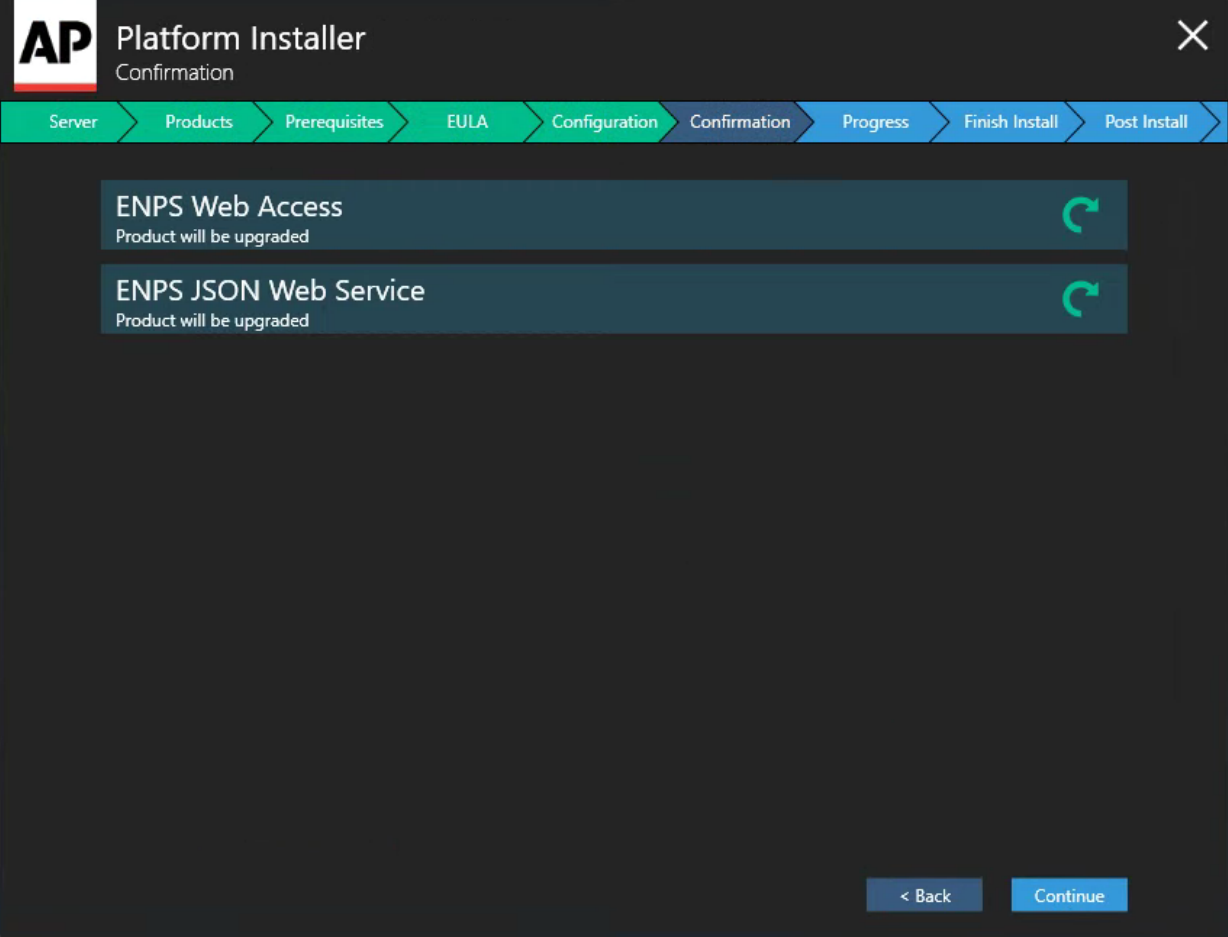
Click Continue to begin upgrading the displayed components.
Installation Progress
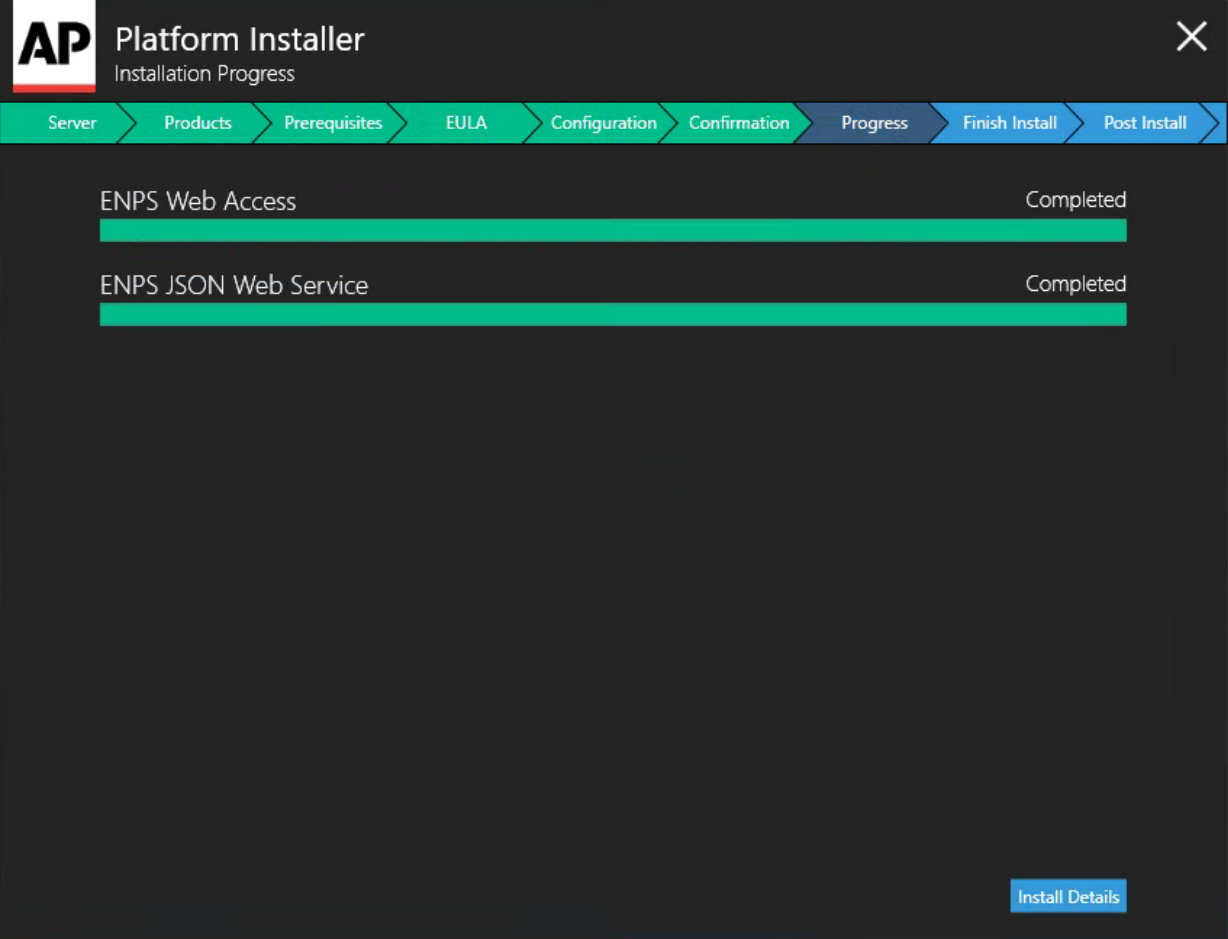
Wait for upgrade to complete.
Click Install Details.
Finish
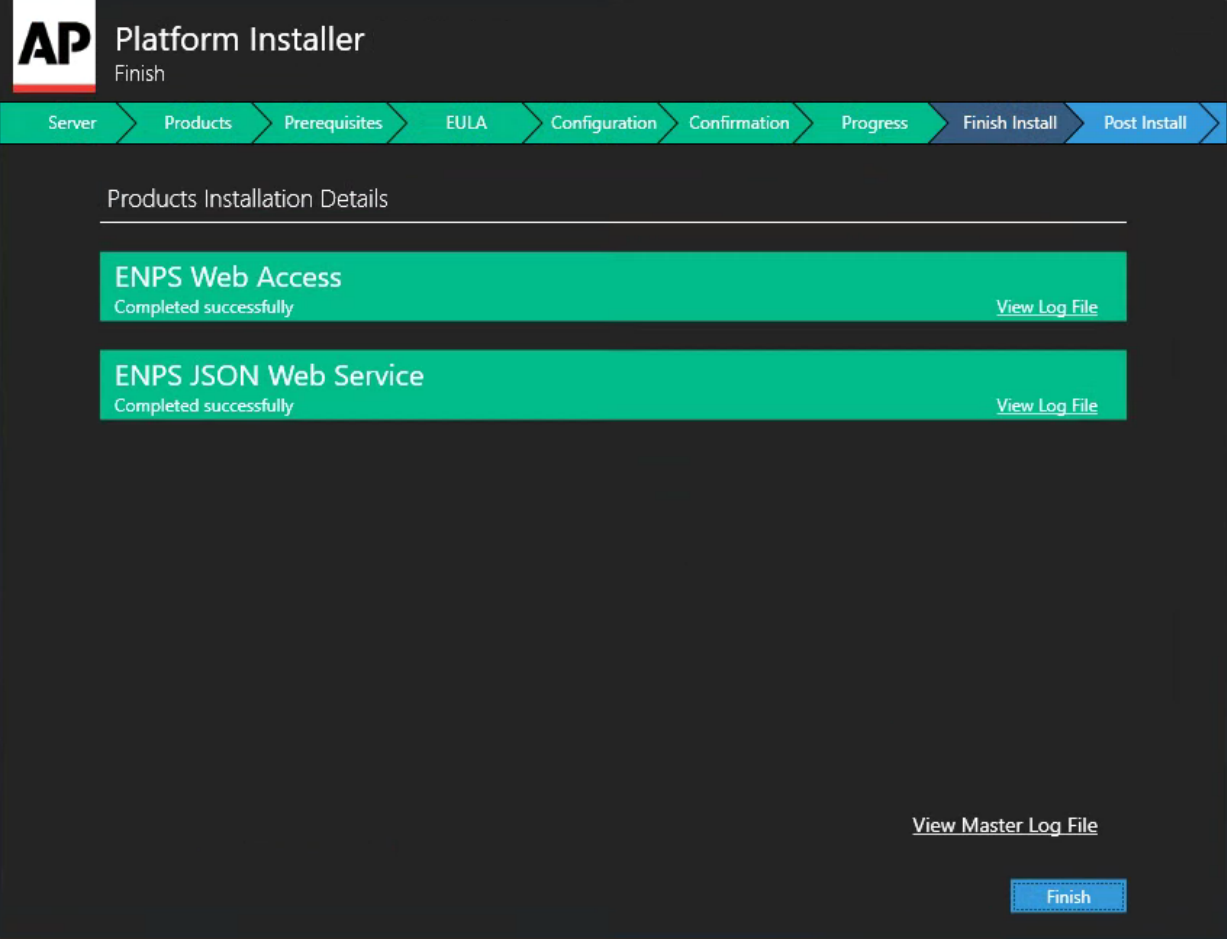
Click Finish if all products have upgraded successfully.
-
Post-Upgrade
Application Pools (Advanced)
Ensure the Application Pool advanced settings are correctly configured.
ENPS Web Access Application Pool Advanced Settings
Configure the ENPS Web Access Application Pool's advanced settings:
-
Open Server Manager.
-
Select Tools > Internet Information Services (IIS) Manager.
-
Expand the server name in the Connections pane.
-
Select Application Pools.
-
Right-click
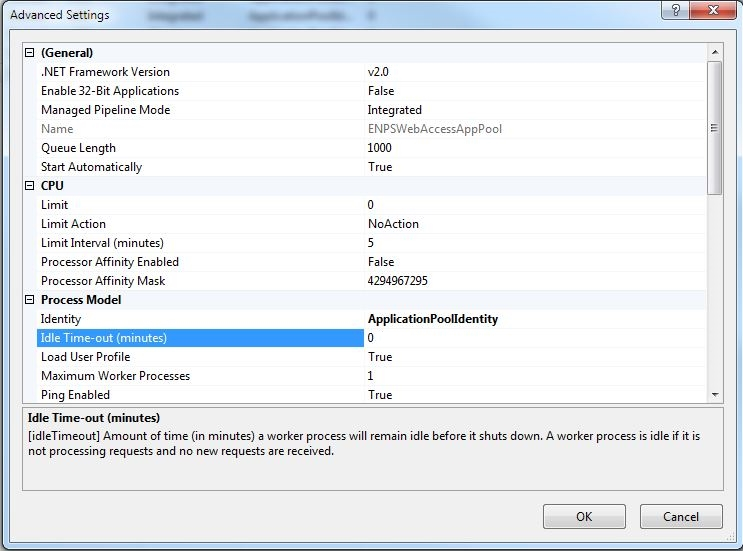
ENPSWebAccess3AppPoolin the Features View on the right, and select Advanced Settings.The Advanced Settings popup will appear.
-
Ensure Process Model > Idle Time-out (minutes) is set to
0.
-
Click OK.
NOM Web Service Application Pool Advanced Settings
Configure the NOM Web Service Application Pool's advanced settings:
-
Open Server Manager.
-
Select Tools > Internet Information Services (IIS) Manager.
-
Expand the server name in the Connections pane.
-
Select Application Pools.
-
Right-click
NOMWebServiceAppPoolin the Features View on the right, and select Advanced Settings.The Advanced Settings popup will appear.
-
Ensure Process Model > Idle Time-out (minutes) is set to
0.
-
Click OK.
Web Service Host
Test the Web Service Host:
-
Open a browser and open the following URL.
Change the URL to
httpif you are not using SSL.https://<NameOfYourMobileServer>/NomWebServices3JSOn/NomWebService.svc -
Check that the following page loads properly:
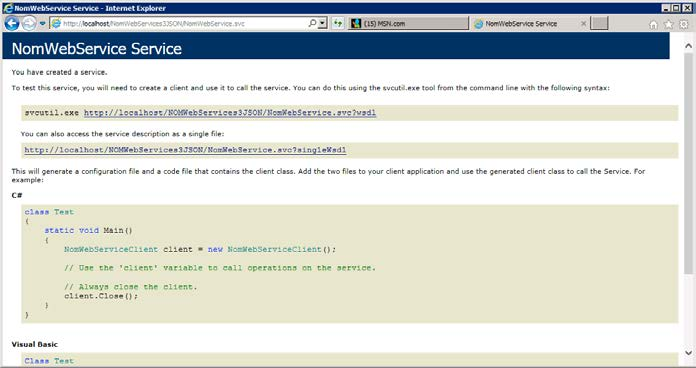
If this page does not load, verify that all previous ENPS Mobile upgrade steps have been carried out correctly.
If you continue to have difficulty, refer to the Troubleshooting steps or Contact Us.
-
Test the Mobile Gateway by opening a browser and opening the following URL:
Change the URL to
httpif you are not using SSL.https://<NameOfYourMobileServer>/enpswebaccess3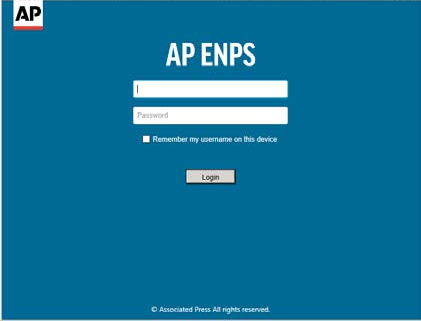
If this page does not load, verify that all previous ENPS Mobile upgrade steps have been carried out correctly.
If you continue to have difficulty, refer to the Troubleshooting steps or Contact Us.
Do not test logging in without first updating the defaultDomain and serviceAddress settings as noted in the next chapter.
