Generic Grids
Generic Grids can be used to create phone lists, expense sheets, and more.
Generic Grids can be created by right-clicking on a folder and selecting New Grid. Users can right-click on the Personal Folder for a personal Generic Grid or the Home Folder to create a Generic Grid for their Group. Generic Grids can also be created by going to ![]() File Menu > New > New Grid.
File Menu > New > New Grid.
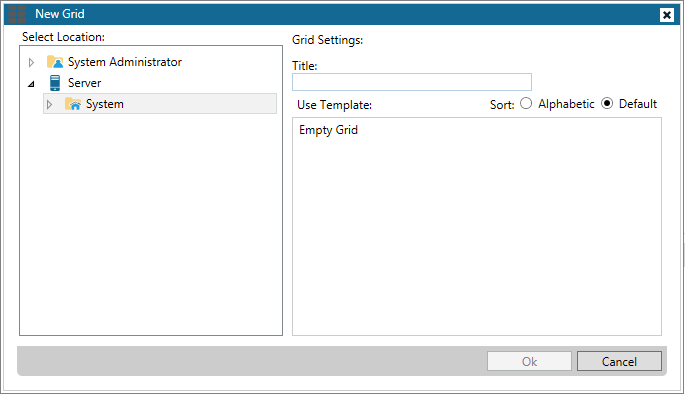
When a user creates a new Generic Grid, the New Grid window will appear.

In the New Grid window, select the location for your Generic Grid in the Select Location pane.
Under Grid Settings, enter a name for the Grid in the Title field. You can also select a template for the Grid and if you would like it to be sorted alphabetically.
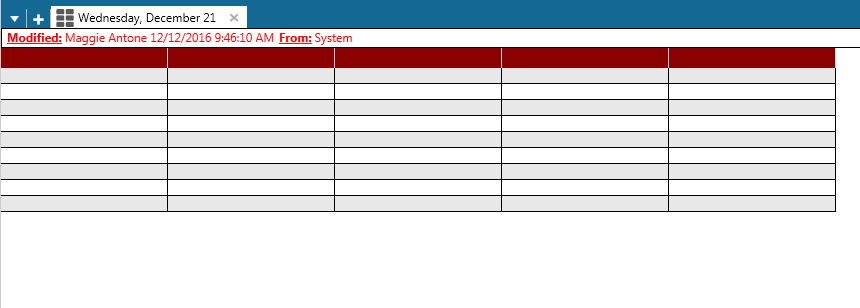
Click the OK button to save your settings and open the new Generic Grid.

To enter information into a Grid cell, highlight the cell and start typing. If you type into a cell that already contains text, that text will be overwritten. If you start typing and want to cancel the operation and retrieve the replaced text, press the Esc key. To edit existing text, double-click on the cell. Press Enter to go to a new line.
Add or delete rows by clicking on the Insert Row or Delete Row buttons. Add or remove columns by selecting the Insert Column or Delete Column buttons. You can save the Generic Grid as a template by selecting the Save As Template button to make it available to other members of your group.